Restore An Old Car
If you like old cars and you're mechanically inclined, classic car restoration is worth your time. But don't think that it will all go easily. They'll be plenty of unforeseeable obstacles. And it's even harder when you're raising a family and working a full-time job. But somehow, we find the time and get it done.
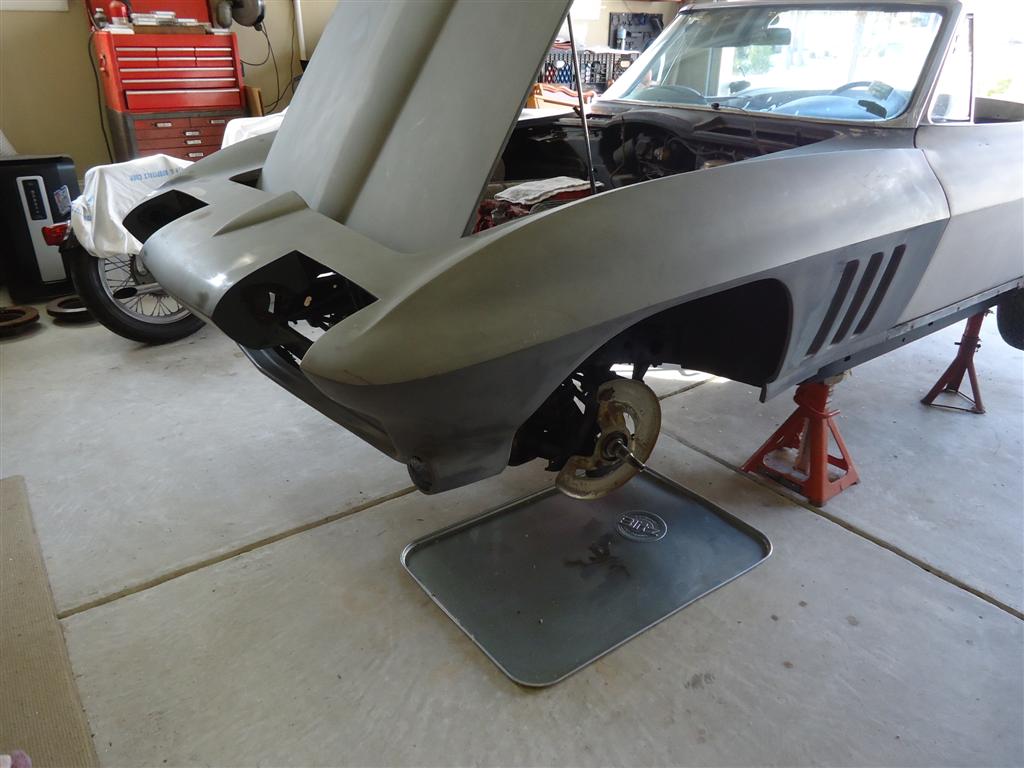
With proper tools and skills, what you can accomplish in your home garage can easily rival what professional shops do. But it will take a lot longer.
When it comes to finding a good and reputable (and reasonably priced) restoration shop, you've probably heard more bad stories than good. This alone has led many of us down the path of buying tools, learning new skills, and doing as much work as we can by ourselves.
*********************
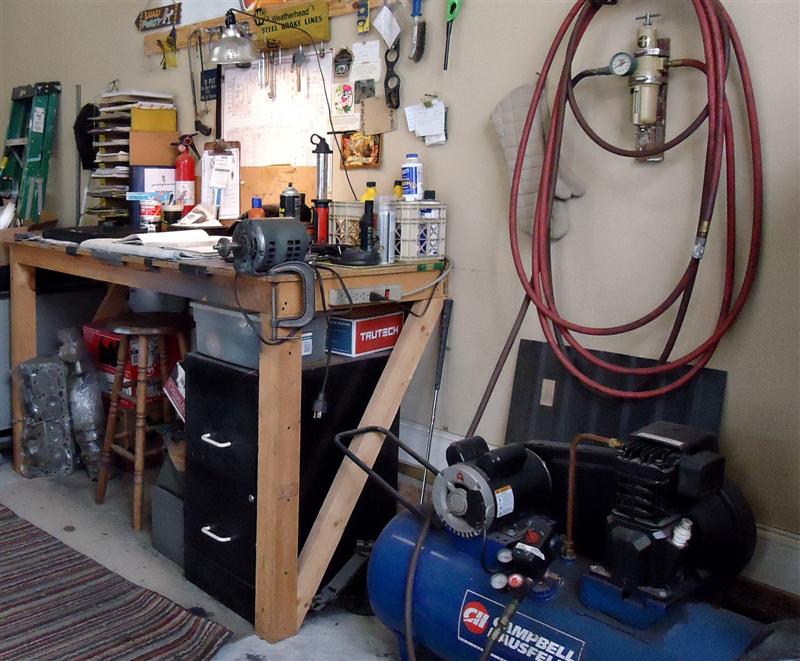
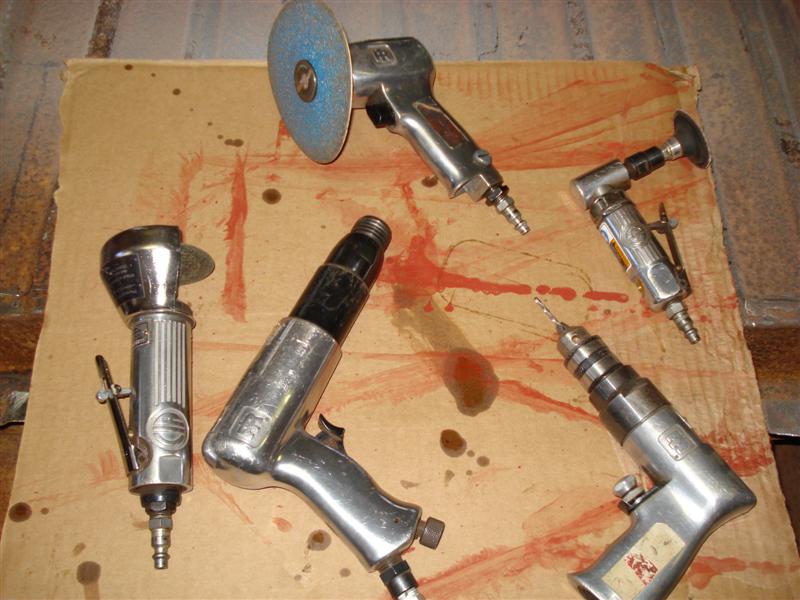
Arguably, the three most important elements needed to restore an old car are knowledge, patience, and tools. Everything is easier when you have the proper tools and equipment.
Automotive restoration tools include hand tools, air tools, engine tools, and bodywork tools.
Read: Automotive Restoration Tools
*********************
Instead of wishing for a bigger garage, work on getting the most out of the space you do have.
Read: Set Up Garage Workshop
*********************
Just because your classic car is old, doesn't mean the motor needs a rebuild. It may only need minor repair that can be done without pulling the engine out. To determine what is the best course of action, diagnose your engine's condition and symptoms.
Read: Does My Engine Need A Rebuild?
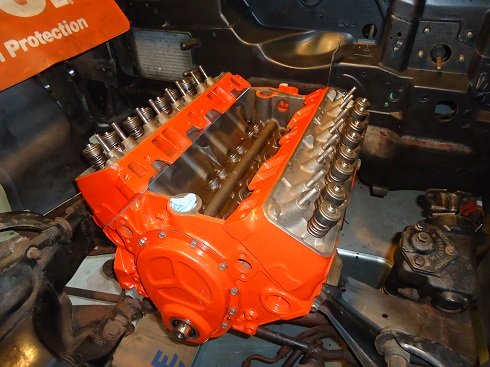
Read: Rebuild/Repair Old Car Engine
*********************
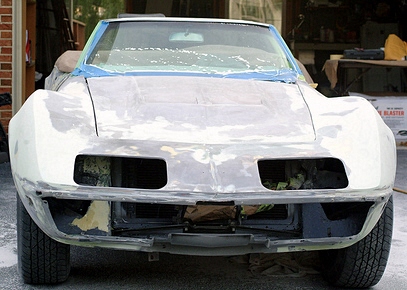
Automotive bodywork is time-consuming, messy, and frustrating, but when done correctly, gives the most satisfying results. Unfortunately, there is no shortcut or "easy way" to doing restoration-quality bodywork. What you put into it is what you get out of it.
Read: Automotive Bodywork
*********************
There are two things you shouldn't skimp on during an old car restoration, and those two things are tires and brakes. Even if there's still good usable tread, tires start to dry rot in 5-6 years, even sooner in hot climates.
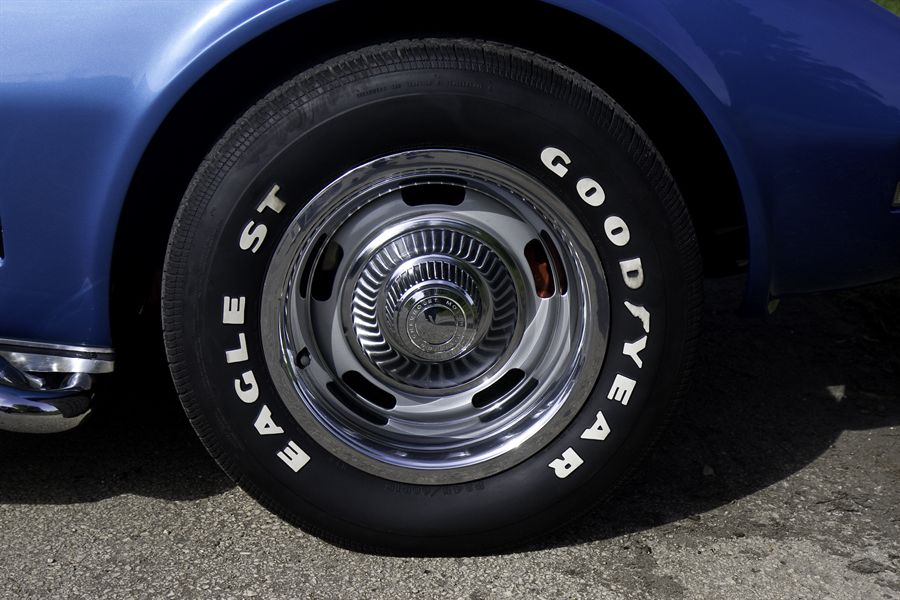
Read: Classic Car Tires
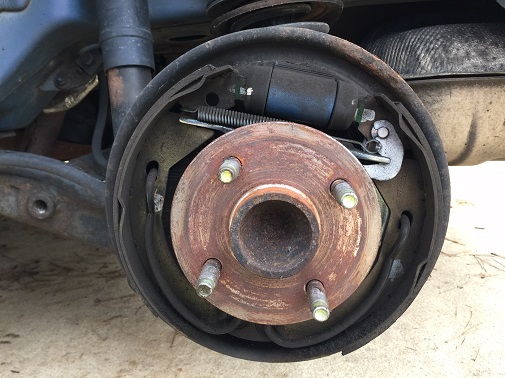
Repairing or replacing the brake system is the most important part of any old car restoration. If you notice a low or soft brake pedal, it's a sign something is wrong.
Read: Disc And Drum Brake Overhaul
*********************
Completion of a major project such as an old car restoration is extremely uplifting. The feeling you get is like no other!
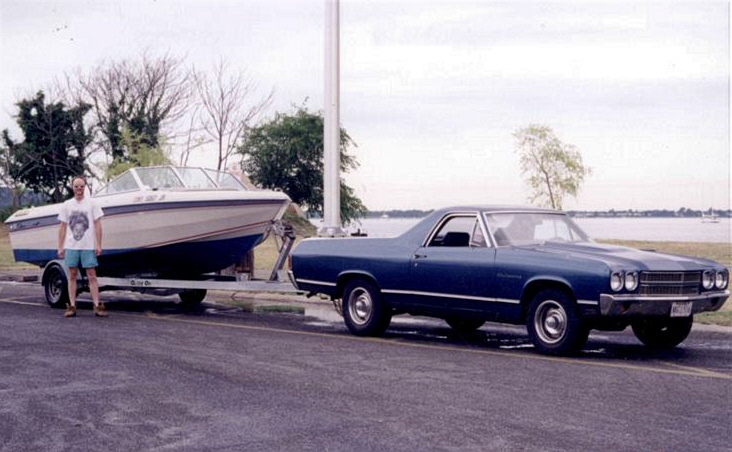
Automotive restoration is much more than just about the old car in your garage. It's about having a reverence for the past and helping to preserve history. It's about meeting similar-minded people who share the same passion, and learning skills you never thought you'd have.
**********************
Articles of Interest:
Best Old Cars To Restore
Best Old Trucks To Restore
Classic Car Maintenance
American Cars of the Fifties
Hot Rods and Customs
Garage Workshop
Best Oil for Classic Cars
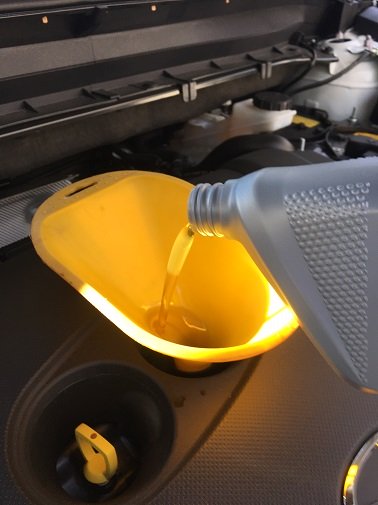
Best Oil For Daily Drivers
*********************
Restore-An-Old-Car.com was chosen by SilverSurfers.com as "Best Of The Web" in the Automotive category!
