Small Block Chevy Build
Article by Mark Trotta
When I purchased this non-running 1966 Corvette, I was told that the engine had been rebuilt at a machine shop but never fired up. A quick check showed heads and block were numbers-matching.
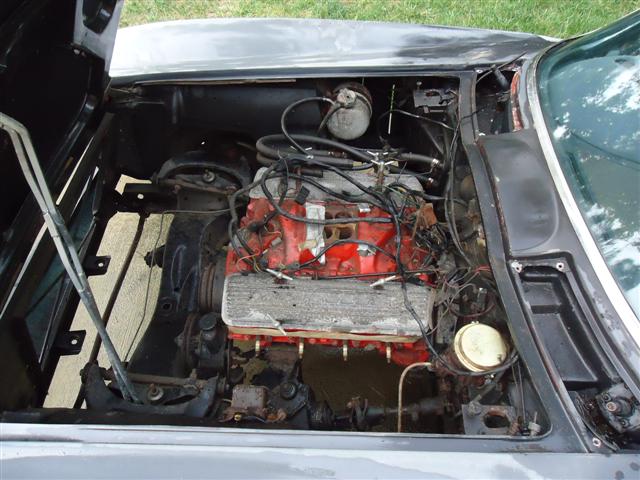
This is an RPO L75, the base motor for 1966 Corvettes; 327 V8 with 10.5:1 compression ratio, hydraulic lifters, and single 4-barrel carburetor. Factory-rated output was 300 horsepower.
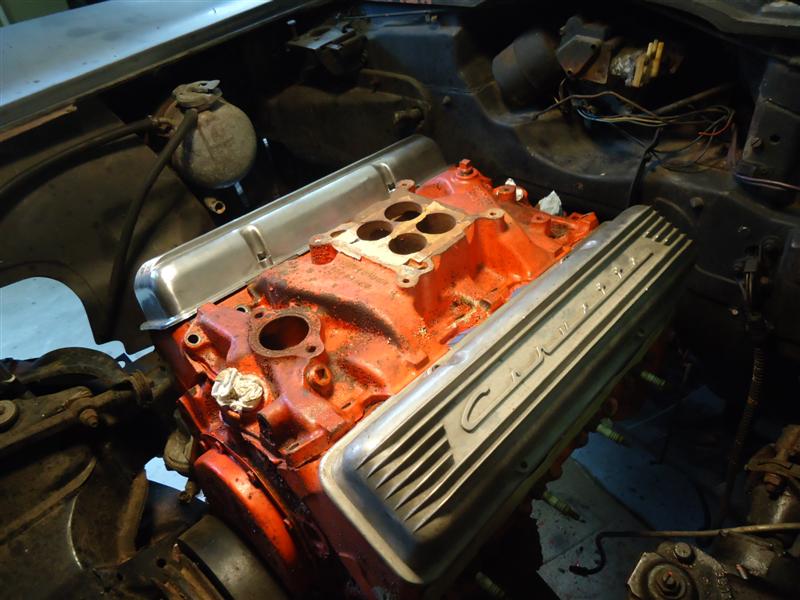
NOTE: Script aluminum valve covers are correct for higher performance L79 motors. Original covers for L75 were steel and painted orange.
Read: Chevy Small-Block History 1965-1969
**************
After removal and disassembly, the bare block was brought to a local machine shop. Once there, old cam bearings and freeze plugs were removed, the block was cleaned (hot-tanked), cylinders bored .030" over, and new cam bearings and freeze plugs were installed.
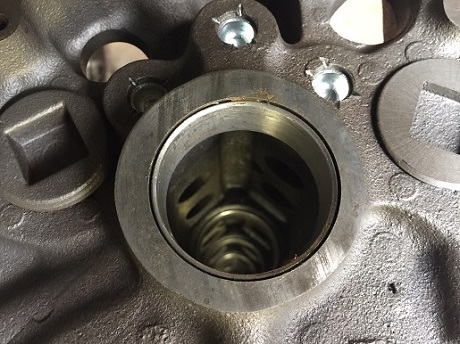
In addition, the crankshaft was cleaned and measured, and connecting rods were reconditioned.
NOTE: Main caps should be stamped or marked before removal. It makes a difference which way they face!
**************
Cast vs Forged Crankshaft
All 327 engines that went into Corvettes had a forged crankshaft. The easiest way to tell is, a cast crank has a thin casting line, and a forged crank has a thick casting line.
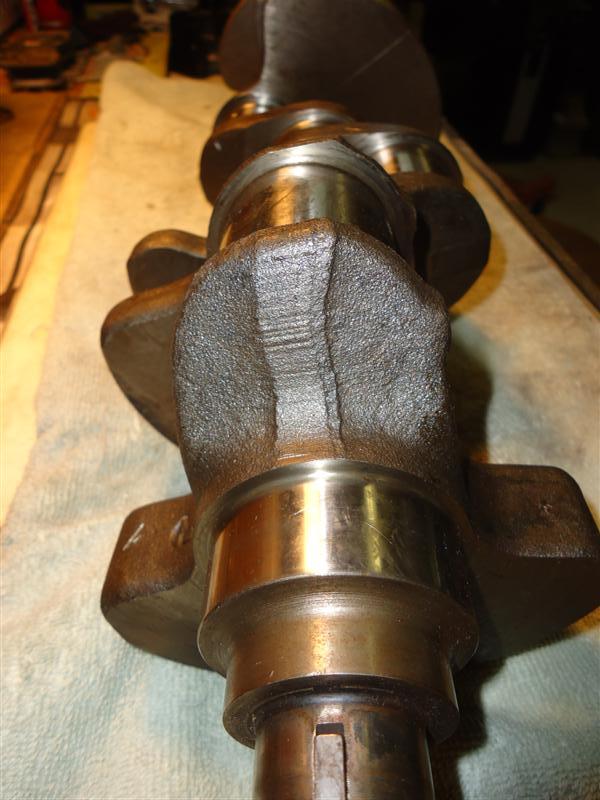
Pictured above is a forged crank.
**************
Install Main Bearings
Gen-One main bearing sets include four different types of bearing shells. The two widest ones go to the rear, and the wide one with the grooves goes in the block.
With the bare block mounted to the engine stand and turned upside down, install one half of the rear main seal in the block, and the grooved bearing halves in the block.
NOTE: Do Not Oil Bearing Shells. All they need to be is clean and a snug fit.
Pistons and Rings
New .030 pistons were installed on the connecting rods, then new rings were installed on the pistons.
The bores were honed with a flex-hone and hand-held drill.
Top rings were gapped at .016" and the second rings at .013" and installed with piston ring pliers.
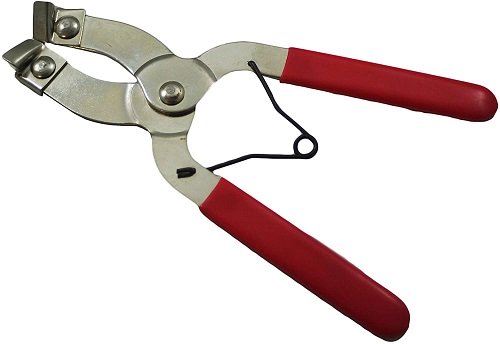
When installing the con rods, take care not to scratch the cylinder walls. A short piece of rubber fuel hose on the studs gives a little added protection.
After the piston and rod assemblies were in, rod bolts were torqued. If you have the smaller rod bolts (11/32") torque to 35 lb/ft. If you have the larger rod bolts (3/8") torque to 45 lb/ft.
The crankshaft caps gets torqued to 70 lb/ft.
Spin the crank assembly a couple times to check for binding or excessive drag.
**************
Camshaft, Timing Chain, and Gears
In almost every SBC overhaul, the camshaft is replaced along with the lifters.
The closest I could find to 1966 327 specs was the Melling MTC1.
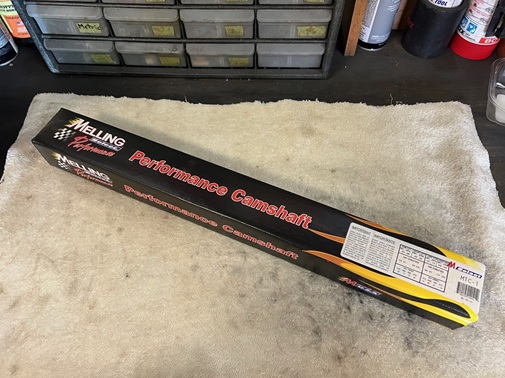
Read: 327 Camshaft Installation
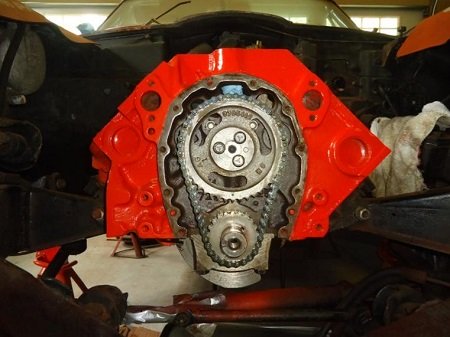
Read:Remove and Install Gen-1 SBC Timing Chain
**************
Oil Pump
Small-block Chevy engines were designed with a very good lubrication system.
However, because of it's age, the decision was made to replace the old oil pump with a Melling M55 oil pump from Summit.
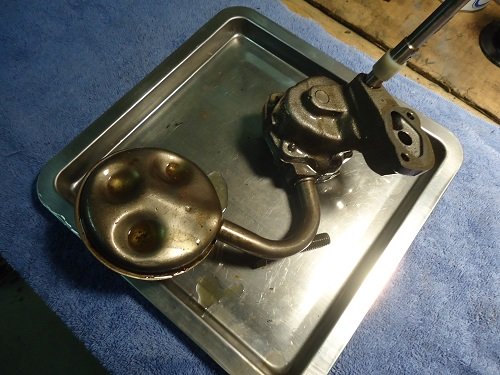
The oil pump shaft bushing should also be replaced. The old one was tight (as it should be) and needed to be cut off with a razor-blade.
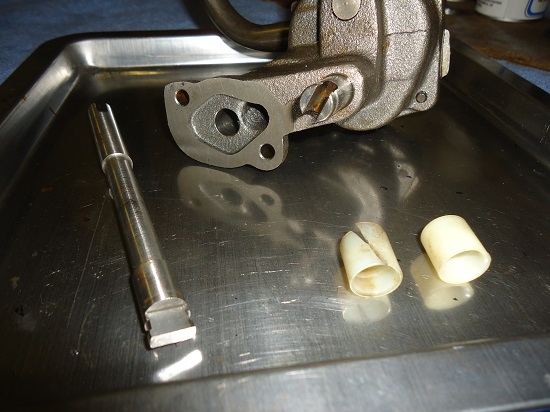
Oil pump bolt gets torqued to 60-70 lb/ft.
SBC Oil Pan Gasket Differences
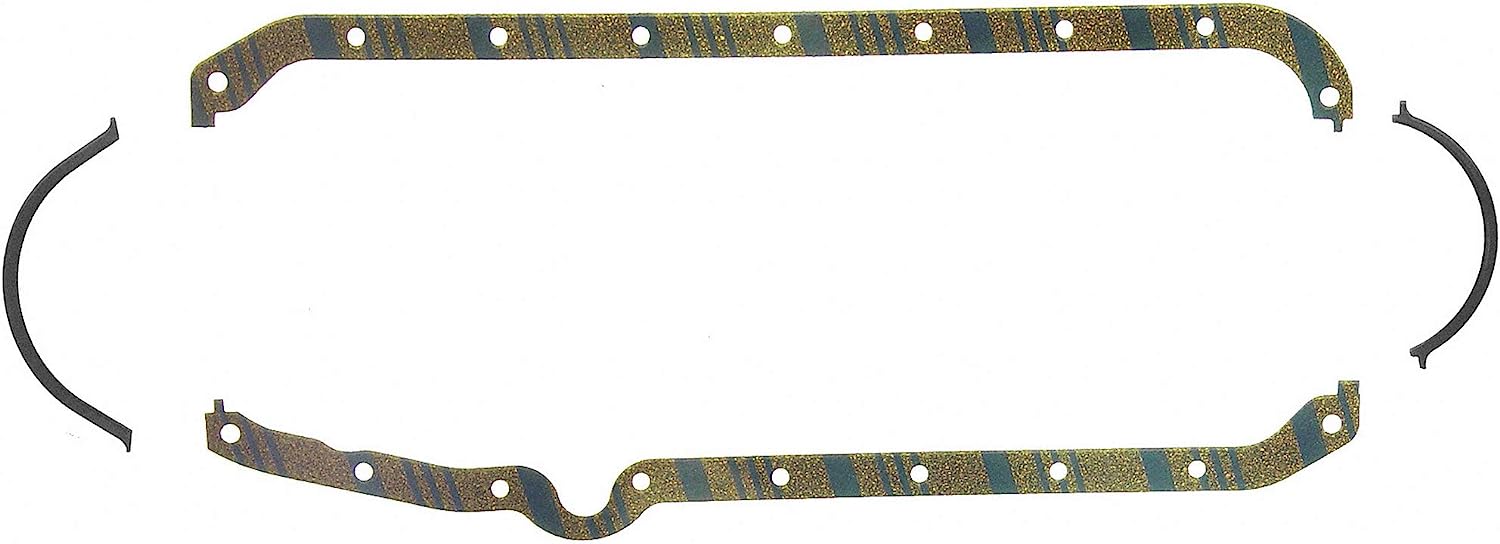
Some SBC oil pan gasket sets will include both thick and thin front seal. Early small-blocks take a thin front seal.
To find out which front seal you need, lay a straight-edge (here I'm using a piece of wood) across the front of the pan and measure the depth of the "half moon". A 2-3/8" measurement requires the thick seal, 2-1/4" requires the thin seal.
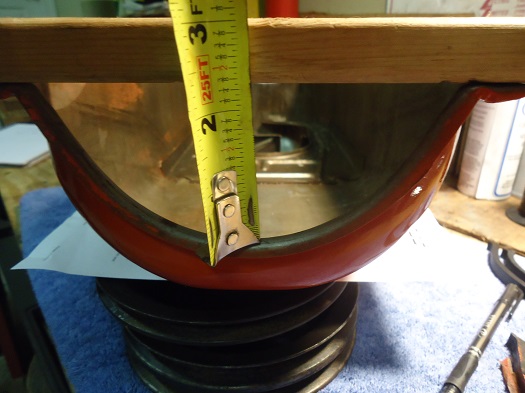
The Felpro OS5197C2 oil pan gasket set comes with the thin seal only.
**************
One-Piece Oil Pan Gasket
Several aftermarket companies offer a one-piece oil pan gasket for the small-block Chevy, but these are thicker than the original gasket and may require longer oil pan bolts to properly secure. I've never had leakage issues with the 4-piece gasket, so I continue to use them.
NOTE: Small-blocks up to 1978 have oil dipstick on the left (drivers) side. Later models have oil dipstick on right (passenger) side. The oil pan gaskets will be different!
**************
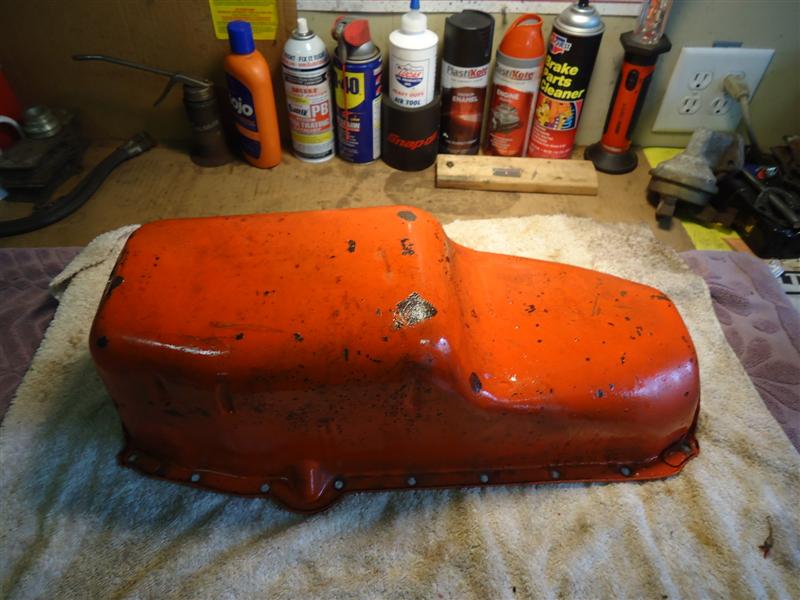
Before re-installing, the oil pan was sanded and scuffed down to bare metal and painted Chevy Orange with a spray can (no primer needed). Oil pan bolts get torqued to 12 lb/ft.
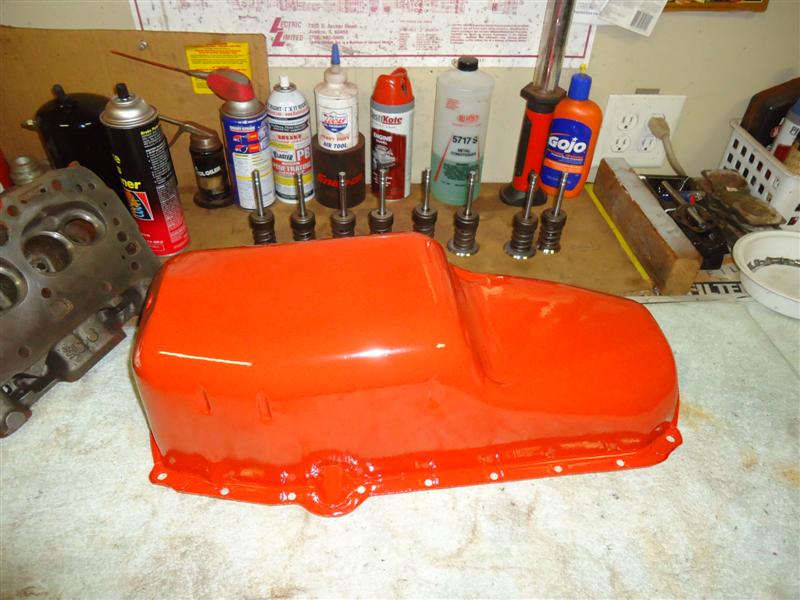
Read: Spray Paint Engine
************
Gen-One small-block Chevy heads are known for faster-than-usual valve guide wear, so it's essential to check the valves and guides when rebuilding.
#461 Cylinder Heads
Both heads are cast #3782461. Date codes are J-12-5 and J-20-5 (October 12th and 20th, 1965). At the time, these were one of the best flowing factory heads GM had to offer for the small-block.
For article on Cylinder Head Assembly click here
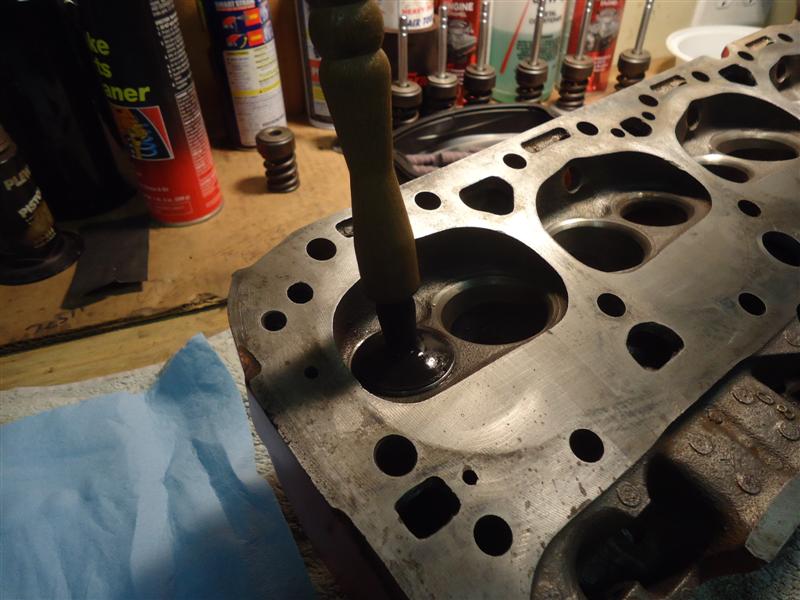
Lapping valves does not take the place of a valve job, but it does confirm whether or not one is needed.
************
Some builders recommend adding a drop of sealant to the bottom of the bolts before installing.
Head Bolt Torque Specs and Sequence
Head bolts should be torqued in the sequence shown below:
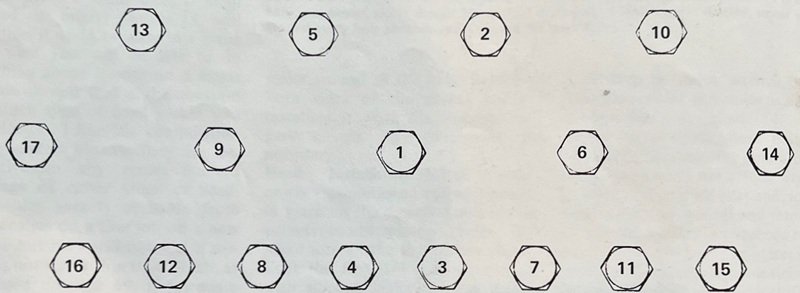
Start at 35, then go to 40, then 60, then stop at 70 lb/ft.
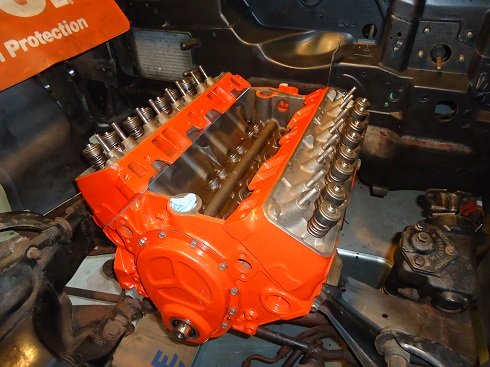
Checking torque twice is good practice.
************
SBC Harmonic Balancer
Several harmonic balancers were fitted to small-block Chevy engines, depending on the horsepower of the motor. There are three bolts holding the crank pulley to the damper.
Chevy 327 cranks never came from the factory with a harmonic balancer bolt, but it was, and still is, a popular upgrade. The one from this engine already had the additional bolt.
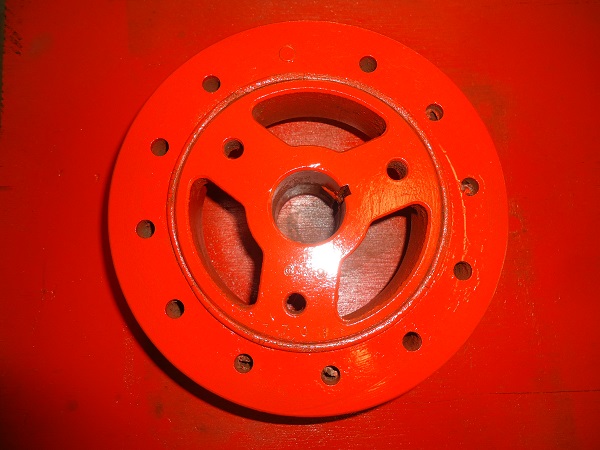
Make sure that the timing pointer is correct for the engine. Otherwise, you'll have a hard time getting the timing at it's best spot.
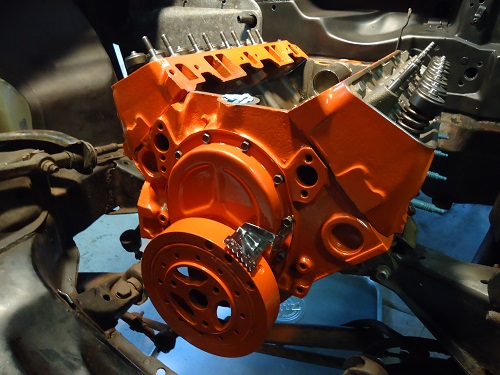
Nearing the finish of the build. Time for valvetrain assembly.
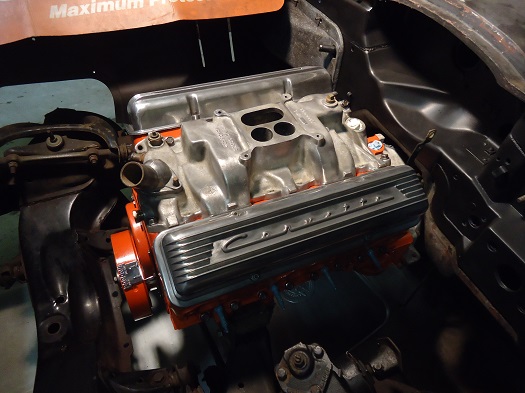
Intake manifold installation can be a little tricky. I like to use the rubber seals that come with the gasket kit, then add blobs of sealant to the corners, and a thin bead around the four water jacket holes. Also popular is using silicone sealer only, instead of the rubber seals.
Torque specs for IM bolts is just 20 lbs/ft.
************
Break-In Oil
Lucas 10631 SAE 30 is a high-zinc break-in oil used for flat tappet camshaft break-in. No moly supplement or additional additives are needed with this oil.
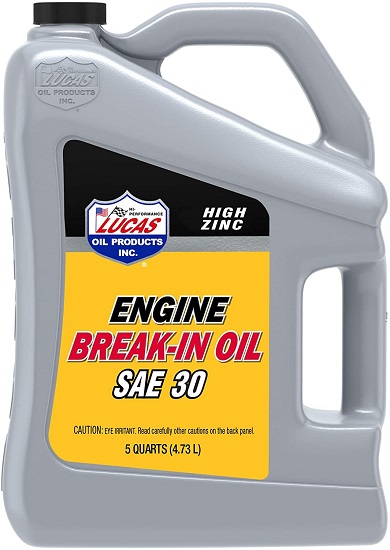
NOTE: Not recommended for passenger cars with catalytic-equipped emissions controls.
Classic Car Engine Oil
The 10W30 oil that your classic car left the factory with is not the same 10W30 that you buy today. There are more flat-tappet hydraulic cam failures than ever before, brought about by inferior foreign lifters, as well as the removal of ZDDP additives from motor oils.
Read: Best Oil for Classic Cars
***************
Gen-One Crate Motor
Summit Racing offers a 100% New Small Block Chevy 350 Crate Engine with an output of 300+ horsepower/375+ lbs.-ft. torque.
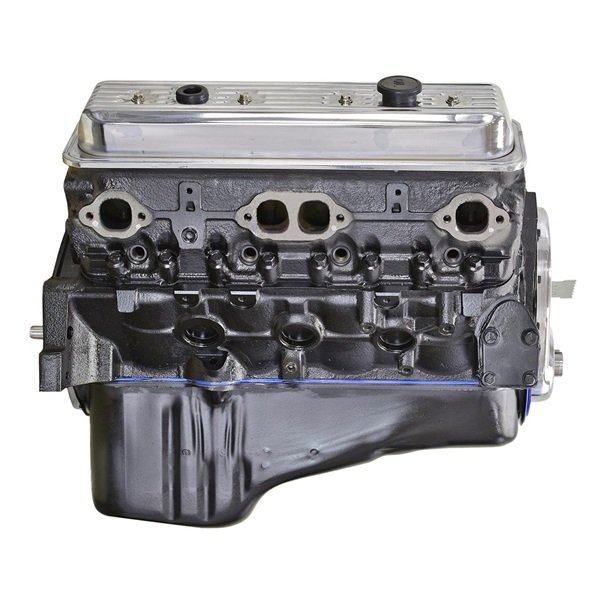
No remanufactured parts, including the blocks! Featuring redesigned Vortec head castings that are not prone to cracking like the factory ones.
***************
Good Read
Author David Vizard is an authority on Chevy V8 engine building. I've read this book cover to cover several times!
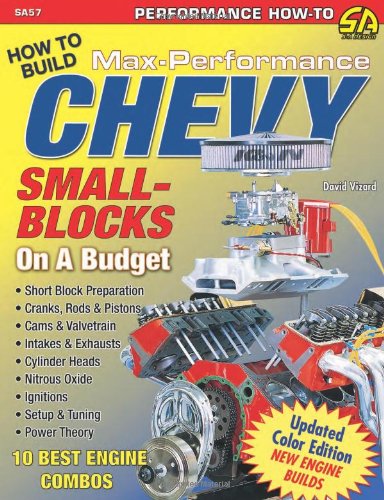
Shop: Chevy Small-Block Book
***************
Related Articles: