How To Paint A Car
Article by Mark Trotta
If you bring your classic car to a professional shop, you're spending $3,500 and up for a decent paint job. But if you have mechanical ability, a good eye, and are willing to invest in paint and equipment, consider doing it yourself.
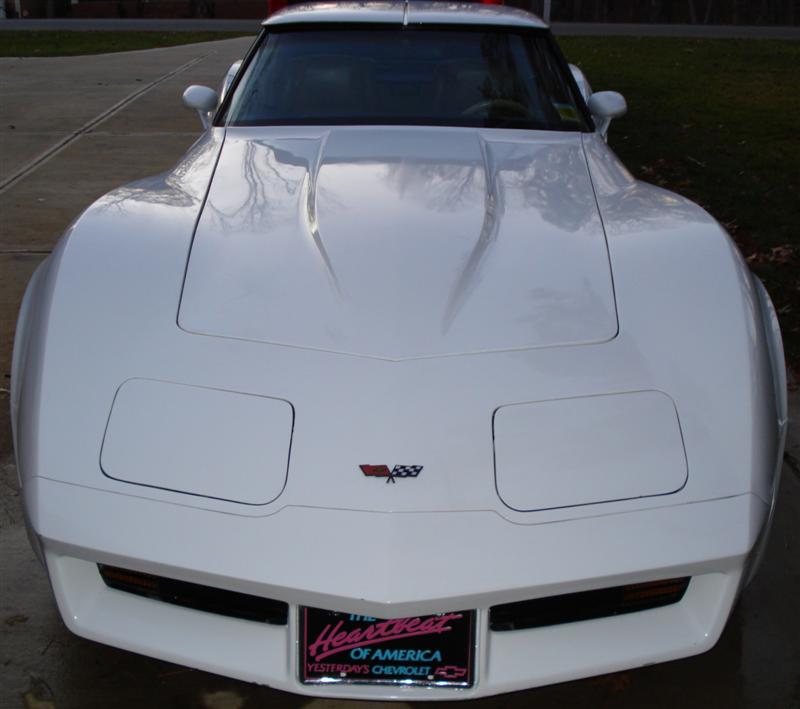
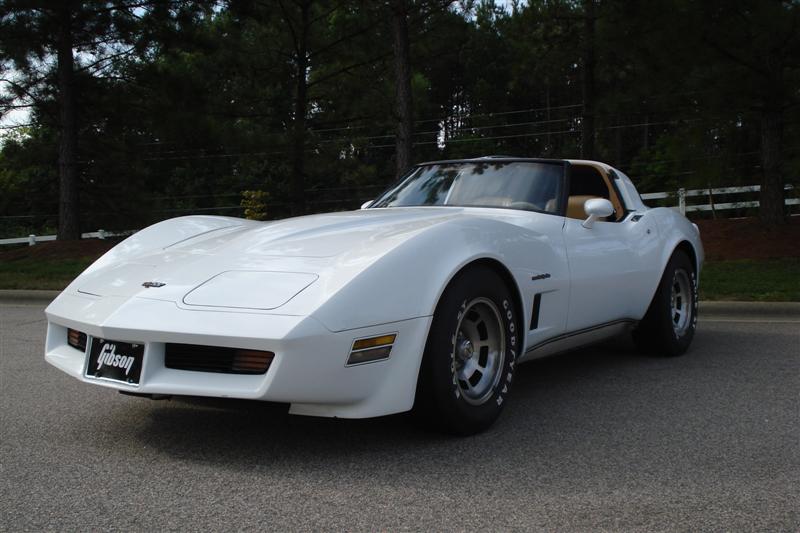
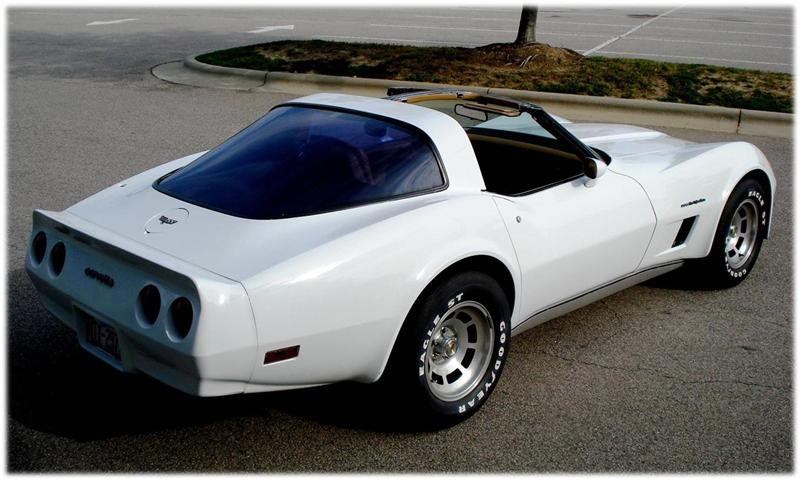
1982 Corvette Restored by Author
What You'll Need
To achieve a quality paint job, you need the right equipment. This includes a proper size air compressor with water filters, and a quality spray gun.
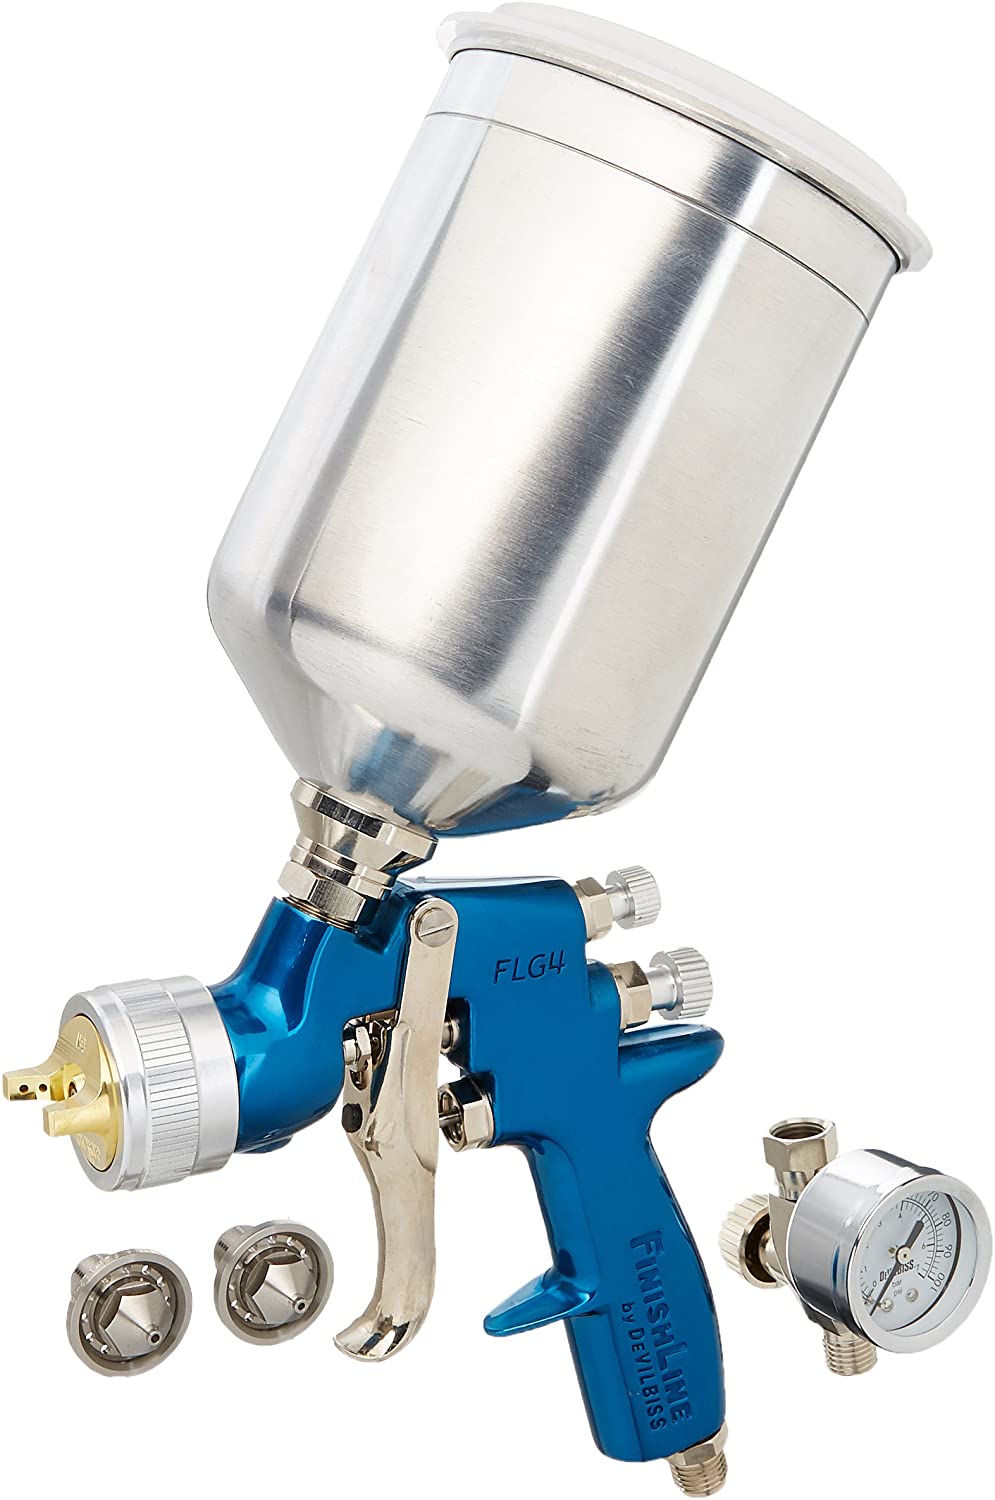
You'll also need a clean, dust-free environment that people and pets won't be walking through.
**********************
How Much Paint Will I Need?
Depending on the size of the car, you may need a gallon or two of primer, two or three gallons of top coat, and two gallons of clear coat.
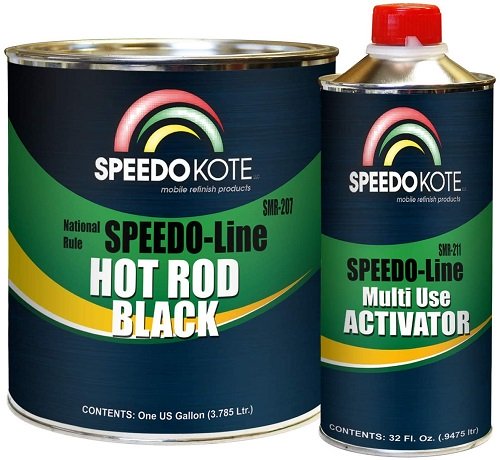
Shop: Speedokote Single Stage Urethane Paint Kit
It's a good idea to factor in some practice beforehand, and for corrections needed afterward.
**********************
Read: Prep Car For Painting
**********************
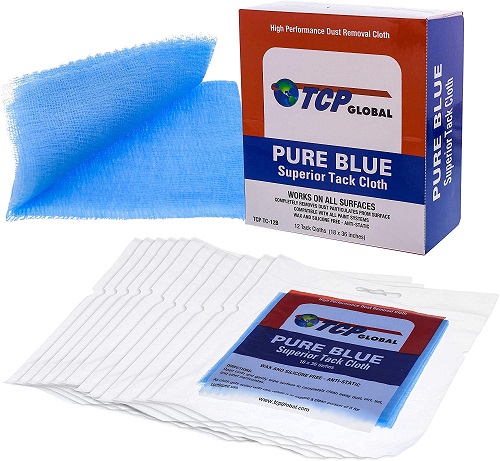
Before spraying the color coat, wipe away any dust that has settled with a tack cloth (also called a tack rag).
After mixing per manufacturers recommendations and filling the gun cup, you're ready to begin.
Tip: Before spraying on the car, do a couple of test sprays on some cardboard. This is a good way to see if the paint is coming out too heavy or too thin, and adjust accordingly.
Spray Painting Technique
Hold the gun about 6-8 inches from the panel. If you stand too close you'll get runs and sags. If you're too far away you won't get a good covering.
While spraying, do not stand in one spot and "fan" the gun back and forth. Slowly move around the car and maintain the correct spray gun to car distance.
Start from the top, right to left, then come back the other way, spraying about 50 percent overlap from the last line of paint that you laid down. Several light coats are best, followed by one slightly heavier coat.
**********************
Allow To Dry
After the car is painted, allow to air dry for at least one full day (follow the manufacturer's suggestions). Remove the masking tape and paper carefully. Before wet-sanding, any dirt nibs can be removed with a dirt nib file.
Wet-Sanding Paint
Wet-sanding paint is tedious and messy, but it's necessary step to remove any orange peel from the paint. For this, you'll need a bucket of clean water, wet sandpaper. and a couple different sanding blocks.
Harder blocks are best for taking out orange peel quickly. Use a softer block for curved areas. Be careful around the edges not to cut through the clear coat, or you will have to repaint that area.
Most people start with 1000-grit sandpaper, but I've used 800 grit and sometimes 600 grit to knock down heavy runs and orange peel. You just have to careful not to take too much off.
The best way to sand is by hand, but if you're real careful you can use a random orbital polisher. I prefer to take my time and wet sand by hand.
After the 1000-grit sandpaper, wash the car to get all the sanding grit off, then switch to 1500-grit. You may want to take it a step further and go to 2000-grit. This will make the buffing part faster and easier.
**********************
Electric Buffer/Polisher
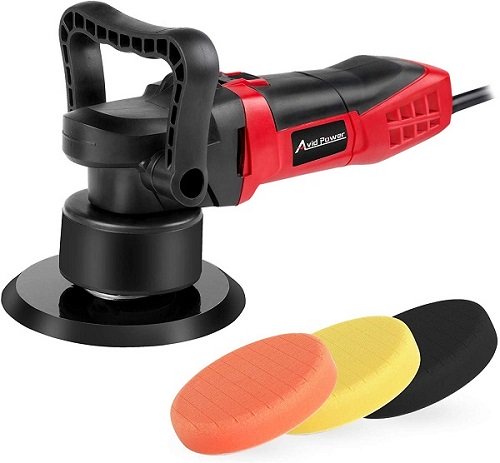
An electric buffer polisher allows you to buff out swirl marks in fresh automotive paint. They also work well to remove spider webs, and polish and apply wax.
Shop: Power Buffer Polisher
The Avid AEP127 is a six-inch dual-action (random orbital) car buffer polisher/waxer. It features variable speed and comes with foam pads for car polishing and waxing. The pads are held in place by the hook and loop system (similar to Velcro) which are easy to put on and take off.
Buffing Out New Paint
After wet-sanding, buff paint in circular motions with an electric buffer, wool pad, and compound.
Be careful not to burn through the paint by holding the buffer in one spot for too long.
Work with approximately two square-feet at a time until the haziness is gone. This is followed by a rubbing compound, either by hand or machine.
I've had good results with 3M Extra-Cut rubbing compound.
Final finishing is done with a swirl-mark remover compound.
**********************
Conclusion
How long should painting your car take? Working part-time, completion may be a month from the time the bodywork was finished until it was painted and ready to drive out of the garage (I waited another week before starting to wet sand the clear coat).
If this is your first automotive paint job, be realistic with your expectations. You may get runs, sags, dirt, or dry spots. Fortunately, most of these problems can be corrected with wet-sanding and buffing.
*******************
Health and Safety Concerns
The Environmental Protection Agency (EPA) states that the health risks of VOC's in automotive paint include: eye, nose, and throat irritation; headaches, loss of coordination, nausea, damage to liver, kidney, and central nervous system.
When working with these chemicals, follow all precautions and use all of the required safety equipment.
Personal Protective Equipment
The chemicals in today's paints are dangerous and can be absorbed through your skin and eyes. A good respirator is essential (remember to change the respirator filters often). Wear disposable nitrile gloves when mixing and spraying paint. A head sock and full body covering are recommended.
Always wear eye protection.
**********************
Legal and Environmental Concerns
If you live in a residential area, it may be illegal to paint your car at your house. Before you start painting your car in your home garage, check local environmental regulations. The local fire department or auto-body supply store are good places to ask. If it is illegal to do so, an alternative would be finding a spray booth to rent. If neither of these are possible, you can still prepare your car for a body shop. It's a good way to save money.
**********************
Related Articles: