MIG Welding Sheet Metal
Article by Mark Trotta
When repairing damaged or rusted car body panels, the more time that you spend on the metal work, the less sanding and filler will be needed to finish the repair.
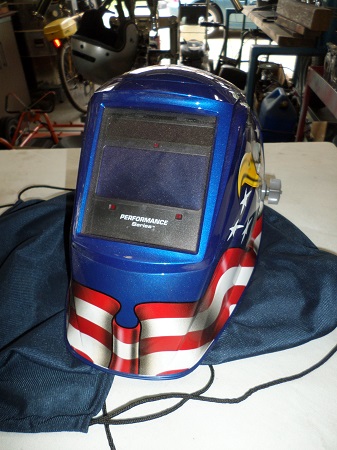
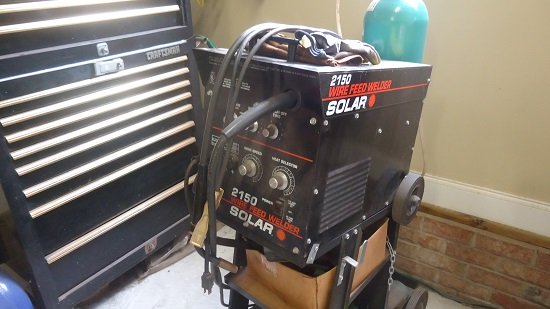
MIG welding is the preferred method for most automotive bodywork, and since sheet metal is the thinnest of metals, a large, expensive MIG unit is usually not required.
The majority of sheet metal repair that I've done was with a 90-amp, 110-volt welder. There's nothing wrong with using a larger machine, it's just not necessary when welding thin metal.
Butt Weld vs Lap Weld
Lap welds are used when quick results are needed. This is why production body shops swear by them. A lap weld is much easier than a butt weld, but doesn't seal correctly, and will promote moisture from the back side. An overlapping joint will provide a place for moisture to collect and rust to take over again.
Because cars are running machines, vibration causes body panels to flex. Lap welds, because they cannot flex like the sheet metal around them, will eventually show visible creases.
Butt-Weld Sheet Metal
The best way to weld sheet metal panels together is by butt-welding, which is joining them side-by-side (see picture below). Butt-welded panels withstand stress better than any other type of weld joint.
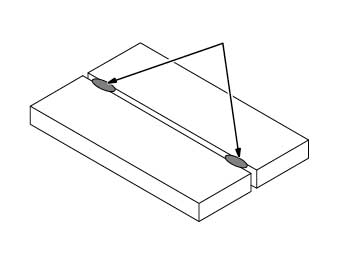
To obtain the best results while MIG welding automotive sheet metal, proper fitment and cleanliness of the metal are essential. Spend the time to make the new panel or panel patch a perfect fit. Ideally, there should be a 1/32" gap between the patch and the body panel.
********************
Related Articles:
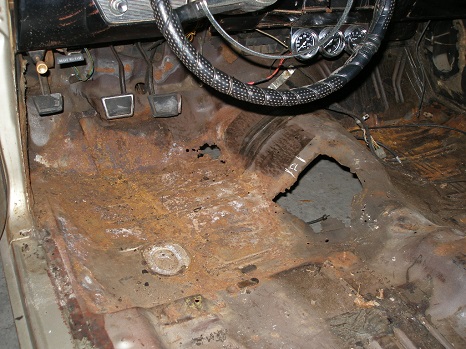
Read: Replace Rusty Floor Panels
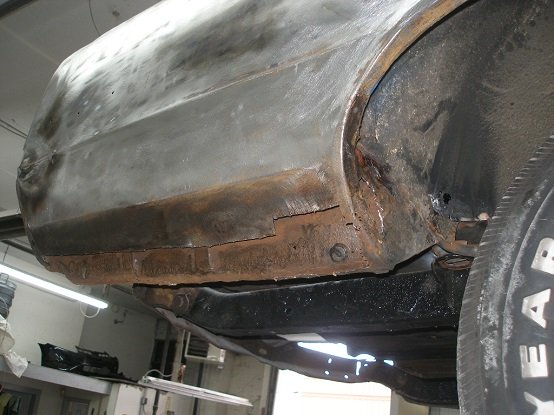
Read: How To Make A Patch Panel
********************
Holding The Panels In Place
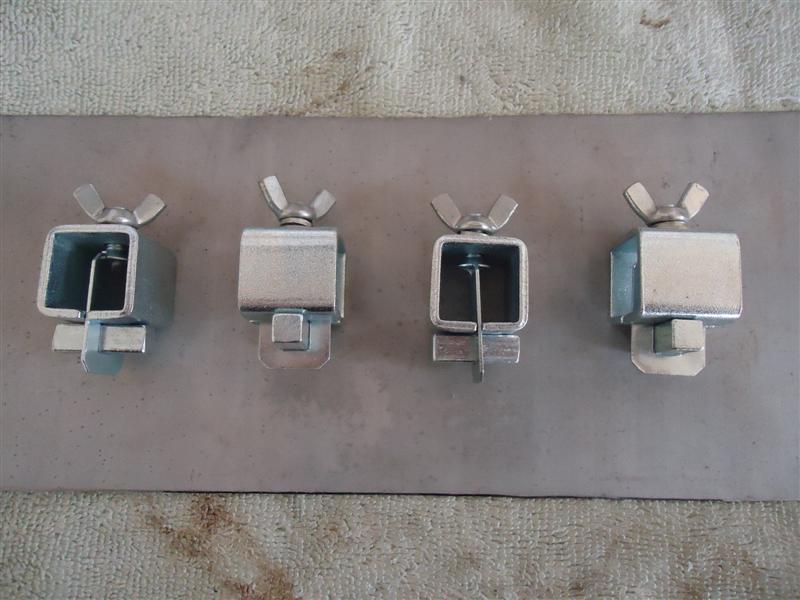
After cleaning the bare metal (brake parts cleaner works well), clamp the panel securely in place. There's several ways to do this. Vise-Grips or specialty welding clamps can be used to hold it in position.
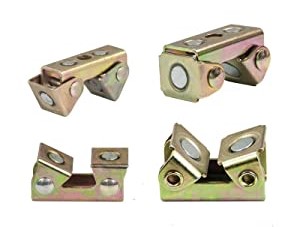
These magnetic V-pads offered by Stronghand Tools are relatively small and work best with 1/4"to 3/8" thick metals.
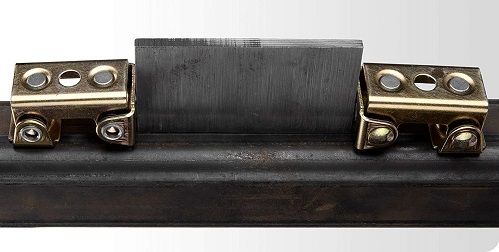
The ones in the picture below are butt welding clamps.
Leave A Gap
When MIG welding a patch panel onto a vehicle, you need to leave a small gap between the patch panel and the original metal. The gap is to compensate for expansion when the metal gets hot.
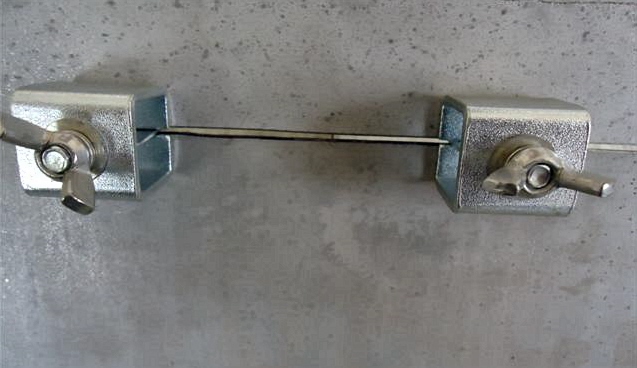
Test fit the panel until an even 1/8" gap is left around the patch. This small gap will be filled in by the weld puddle.
********************
Zinc Primer Spray
For extra protection against future rust, spray the back side of the panel with a zinc-rich primer. These are quick drying primers and offered by many companies, including U-Pol.
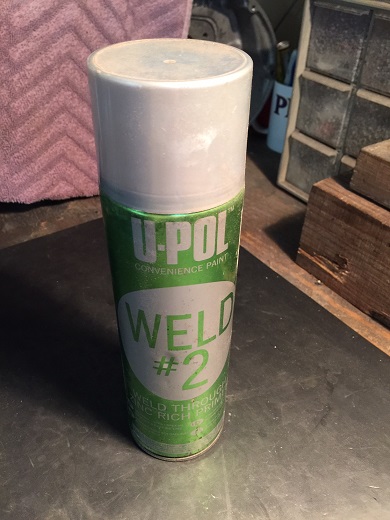
The zinc primer gets sprayed on after trimming but before welding.
********************
After fitting the patch, clean the panel with acetone to remove any grease or residue for a clean weld seam. Now it's ready to be tack-welded into place.
Tack-Weld Patch Panel In Place
Thin gauge sheet metals are more difficult to fit up than thicker metals. Tack welding is used as a method of holding the panels together during the welding process without warping them from the heat. Tacks about one inch apart usually suffice.
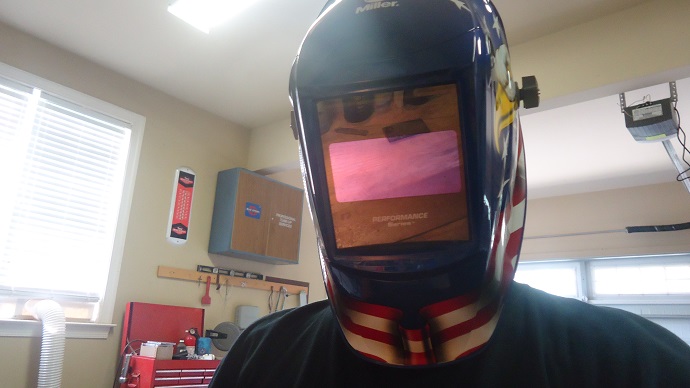
Place the welding tip wire at the gap and tack-weld several small spots, spacing them evenly apart. Tack in a few places, apart from each other, and wait until the panel is cool to the touch.
Then tack between the two previous tacks.
Avoid Warping the Sheet Metal
It's very possible to warp panels on your car while welding them in place. This is common with beginning welders.
CAUTION: Do not try to run a weld bead from one end to the other!
The final weld should be done with one small portion at a time.
Weld about an inch of bead at a time. Move from the top to the bottom. Start with a weld on the top of the patch, and let it cool (a little compressed air helps). Then tack weld on the bottom and let it cool off.
Use this same technique for the sides, until you have one solid bead all the way around the patch panel.
Read: Best Welder For Automotive Restoration
Some bodymen prefer to pause after each short weld bead, then hammer the weld (if you can get a dolly behind the patch). This helps "relax" the panel back to its natural shape.
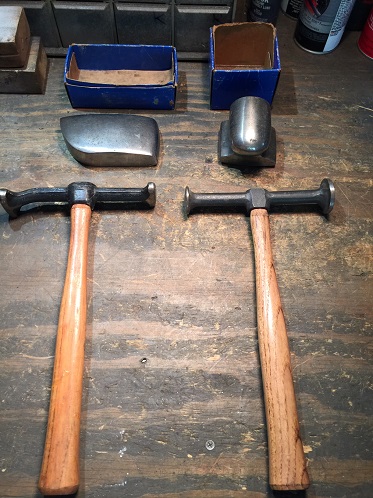
This procedure is usually done with a body hammer and dolly.
Allow the metal to cool (cool to the touch) before adding more welds. Correct any misalignment before you go any further.
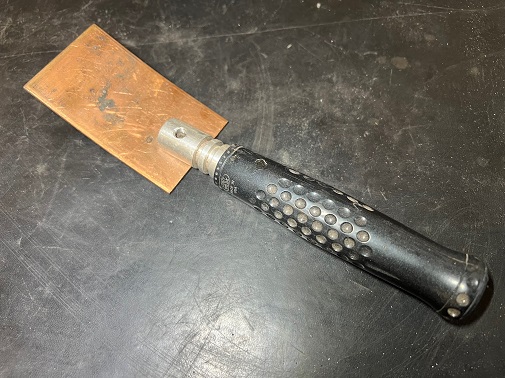
If you can get behind the weld, use a copper welding spoon as a heat sink while welding. This helps minimize warpage.
Work slowly and give the welds time to cool.
All of your short seam welds will become connected, and you will have a fully-welded panel.
********************
Problems With Welding Sheet Metal
If you are burning through the metal, you're not moving the torch fast enough and/or your welder is set too high. Solution: Move the torch faster, and/or reduce the amp setting of the welder and the lower the wire speed. Using a thinner wire (example; 0.30 instead of 0.35) will also help.
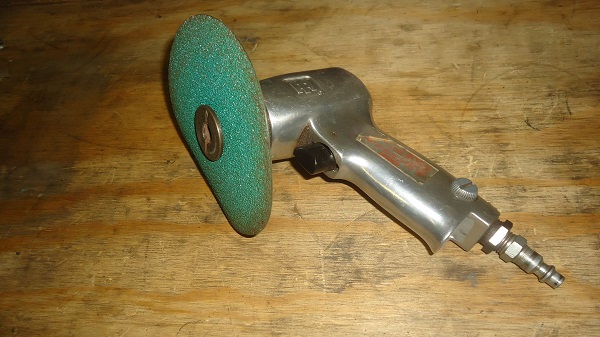
Once the welding is done, grind the welds down in preparation for final finishing. A 36-grit disc on an air sander will easily level the high spots, or you can use an electric angle grinder with a flap disc.
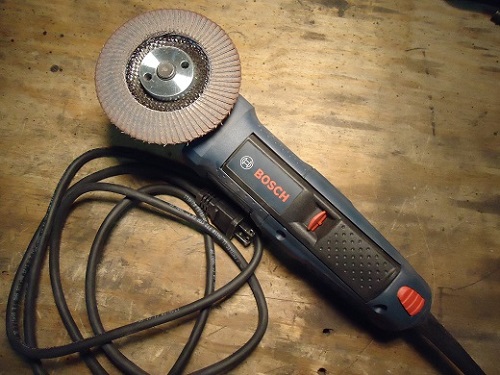
Don't spend too much time grinding on one spot, as that could heat and warp the metal.
Any low spots will require body filler.
If you live in a relatively high humidity area, coat the patch panels as soon as you can. Surface rust will form almost immediately if you don't. Give the new metal a coat of self-etching primer (a spray can is fine for this).
********************
MIG Shielding Gas
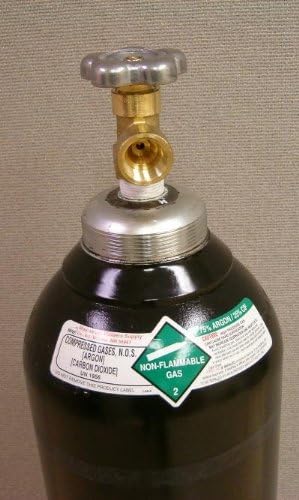
The most common shielding gas for MIG is an Argon/CO2 mix, which will provide clean, good looking welds on thin sheet metal.
MIG Weld With No Gas
Without a welding bottle, Gasless Flux Core Mig Wire is necessary.
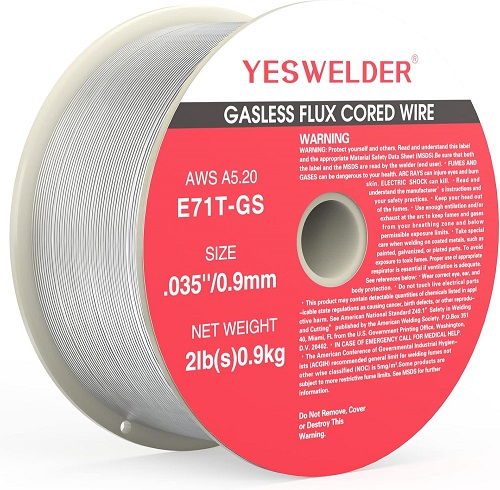
You can still weld flat, overhead and vertical with it.
********************
It's All About Practice
Once properly set up, MIG welding is clean and fast, and works well with thin metals. It is the easiest weld process to learn, and most commonly used for automotive body work.
I've done a lot of patch and panel welding, and through trial and error, I'm always learning better techniques. Like any skill, it's all about practice, and there's really no limit to how good you can weld.
When a patch panel is installed correctly, it leaves a weld joint that's nearly invisible, and will need very little filler.
********************
Related Articles:
Best Welder For Automotive Restoration
9 Ways To Cut Sheet Metal
1970 Chevelle Bodywork and Paint
How To Make A Patch Panel
Body Filler Basics
Best Angle Grinder For Automotive
Welding a Superyacht and Purchasing a New Yacht: