Old Car Ignition
Compared to today's modern vehicles, old car ignition systems are simple to understand and diagnose. They are comprised of two circuits; the primary (low-tension) side, and the secondary (high-tension) side.
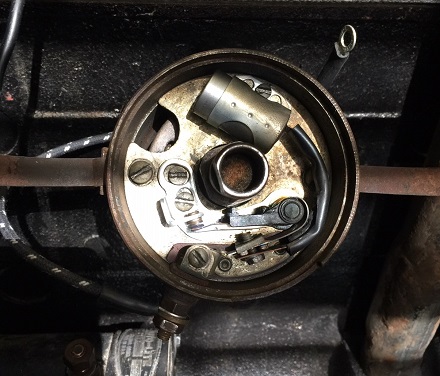
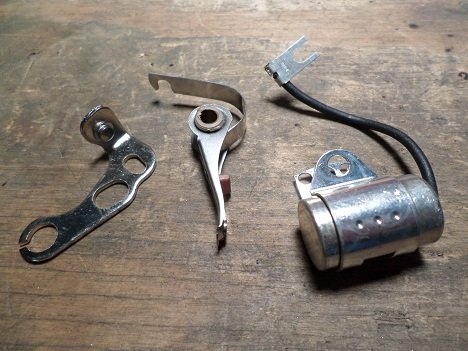
The majority of classic cars have a point/condenser ignition system, where a contact breaker is operated by an engine-driven cam. The points are designed to open at the correct moment needed to ignite the fuel at the top of the piston's compression stroke.
Low-Tension Side
Your old car ignition system starts with the battery, then on to the ignition switch, contact breaker (points), and the primary windings of the coil. These are all part of the low-tension circuit. The key-operated ignition switch connects and disconnects power to the ignition and electrical system.
High-Tension Side
The high tension side of the ignition system includes the distributor cap and rotor, spark plugs, spark plug wires, and the secondary winding of the coil. In a 12 volt system, the 12 volts from the primary side go into the coil, and come out at 20,000+ volts.
How To Check For Spark
Here's a simple way to check for spark at the distributor. Remove the distributor cap, turn on the ignition, but don't start the car. Then, with your hand, twist the points (by rocking the rotor) to open and close. If they spark, there is voltage.
Ignition Coil Function
The ignition coil is basically a transformer, which steps up the 12-volt (low voltage) from the battery, to the high voltage required to jump a spark plug gap. Coils can be tested with an ohmmeter, although they are very durable and rarely go bad.
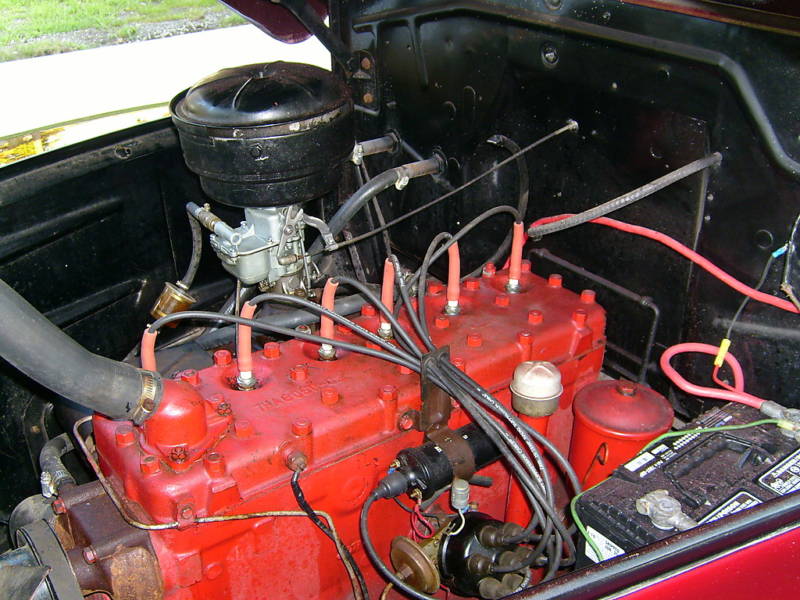
If in doubt, replace it. Many are still fairly cheap and available at your local parts house.
How To Check Secondary Voltage
A voltmeter, or multimeter is needed for checking secondary voltage.
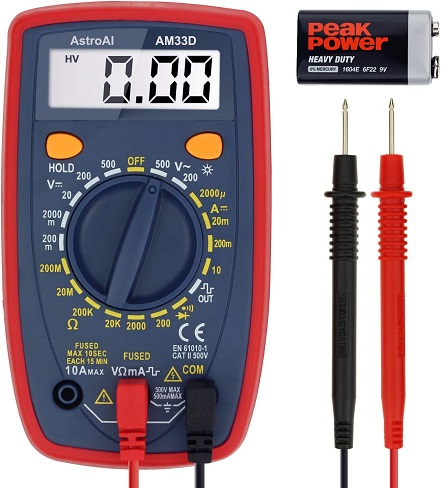
To test coil voltage, first check that all connections are clean and tight. Turn on ignition (don't start car), then connect a voltmeter between the + or SW terminal of the coil and ground.
The voltmeter should read nearly 12 volts, or about 7 volts if the coil has a ballast resistor.
If there is no voltage, there is a break in the circuit between the battery and the positive terminal. Possibly the ballast resistor is faulty.
CAUTION: Never touch any part of the secondary ignition circuit when engine is running. Use insulated pliers and insulated screwdrivers.
*************************
Spark Plugs
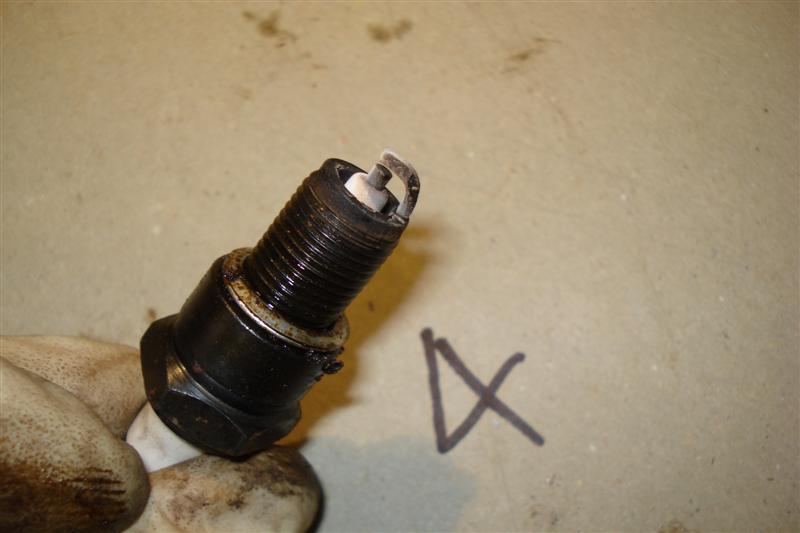
Automotive spark plugs vary in type and in design. They must be clean, correctly gapped, and be the correct application for your engine. If you accidentally crack the white porcelain insulator while gapping one, throw the plug away and get a new one.
*************************
Spark Plug Gapping Tool
Spark plug gap gauges come in several styles. They all achieve the same results, but you may prefer one over the other.
The 'ramp-style' spark plug gauge pictured below looks like a silver dollar and has numbers marked around the edge of its face.
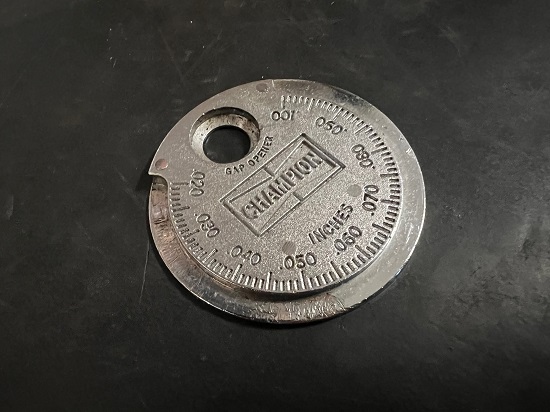
With the ramp-style of gauge, you can bend the spark plug electrode with them if needed.
Another type of spark plug gap tool is the wire loop-style (shown below). It also looks like a coin, but has wire loops of different thicknesses around the outside edge. They are as accurate as the ramp-style, but only have a limited number of loops.
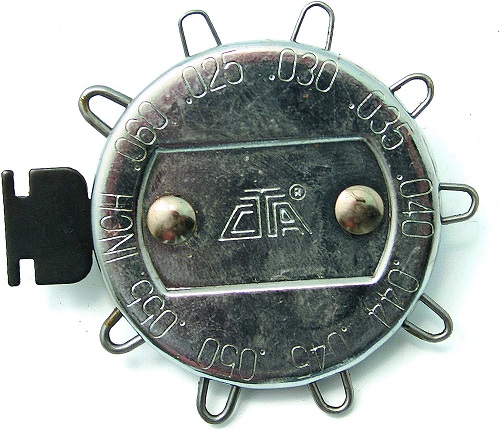
If your engine needs an odd gap size, a loop-style spark plug gauge may not have the correct size.
*************************
Spark Plug Wires
Ignition wire cable is made with a carbon core in two resistances so that leads of different lengths will have equal resistance. Some ignition wires have a copper core with small resistance. They can be easily tested with a multimeter.
Detach each wire in turn. Take off the plug cap if it is removable. Select the resistance position, then touch a probe to each end of the wire and read the resistance on the scale. If one reading is much different than the others, you've found your misfire. Probably best to replace the whole set of wires.
Ballast Resistor Function
The ignition ballast resistor extends the life of the coil and the points. Too high an amperage can damage the surface of the points and cause failure. The ceramic resistor is sometimes clamped to one of the coil mounting bolts. Make sure it is not cracked, and that the connectors are tight.
There are two leads from the ignition switch to the coil; one for normal running going through the resistor; the other for starting, which bypasses the resistor to provide extra ignition strength.
When the ignition key is in the start position, full current is applied to the coil and increases voltage to the spark plugs. Once the engine has started, the coil is fed in the usual way from the ignition switch.
In the event that the ignition is left in the run position, and the points happen to be open, electrical arcs can cause raised spots on the points resulting in a change in dwell timing or an engine that won't run at all.
Test Ballast Resistor
Use an electrical multi-meter to test ballast resistor function. With the wires disconnected, check the resistance between the two terminals of the ballast resistor. Any significant difference from the factory specs would indicate that the ballast resistor is defective.
Resistor Wire Function
Some old cars have a resistive lead from ignition switch to coil instead of a separate resistor. Some cars have, instead, a special high-resistance wire between the ignition switch and the coil to reduce the voltage.
*************************
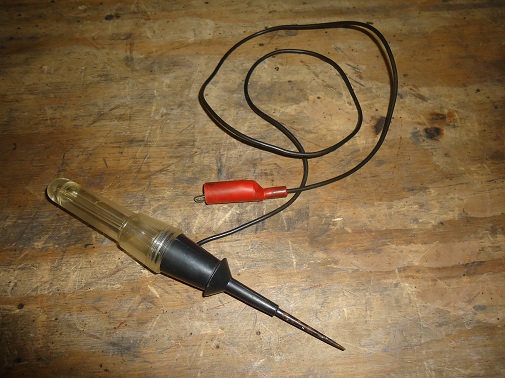
Shop: 12-volt Test Light
*************************
Related Articles: