Corvette Caliper Rebuild/Reassembly
Article by Mark Trotta
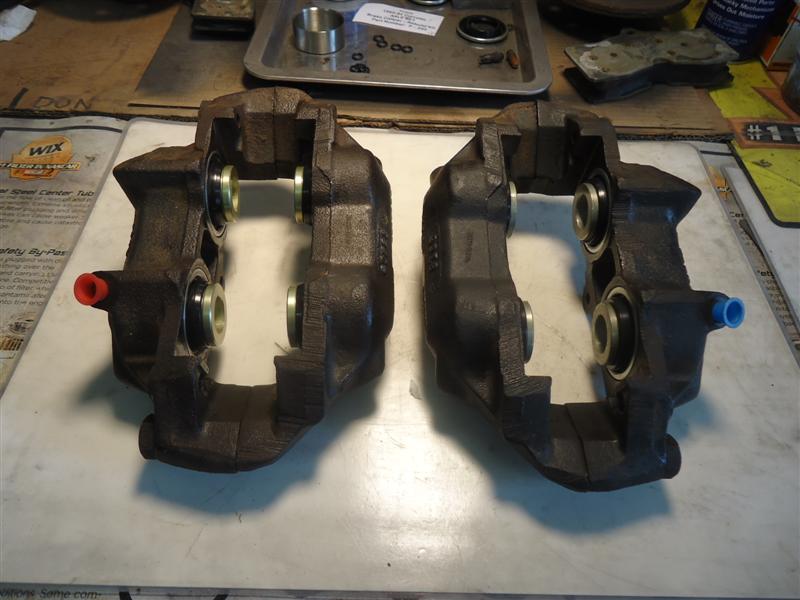
After disassembly and overhaul, the final phase of rebuilding Corvette calipers is painting, assembly, and installation.
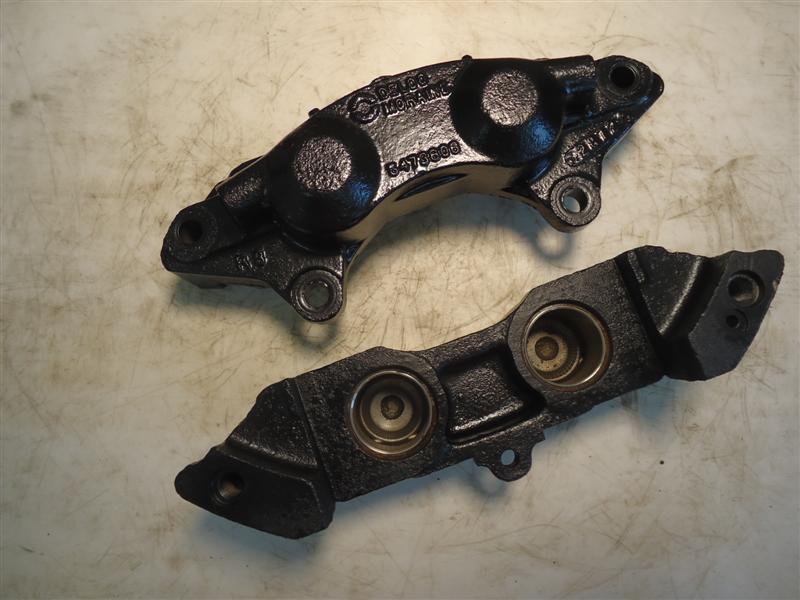
For article on Corvette Caliper Disassembly click here
For article on Painting Brake Calipers click here
NOTE: Front and rear caliper rebuild kits are different.
*************************
Installing The Piston Seals
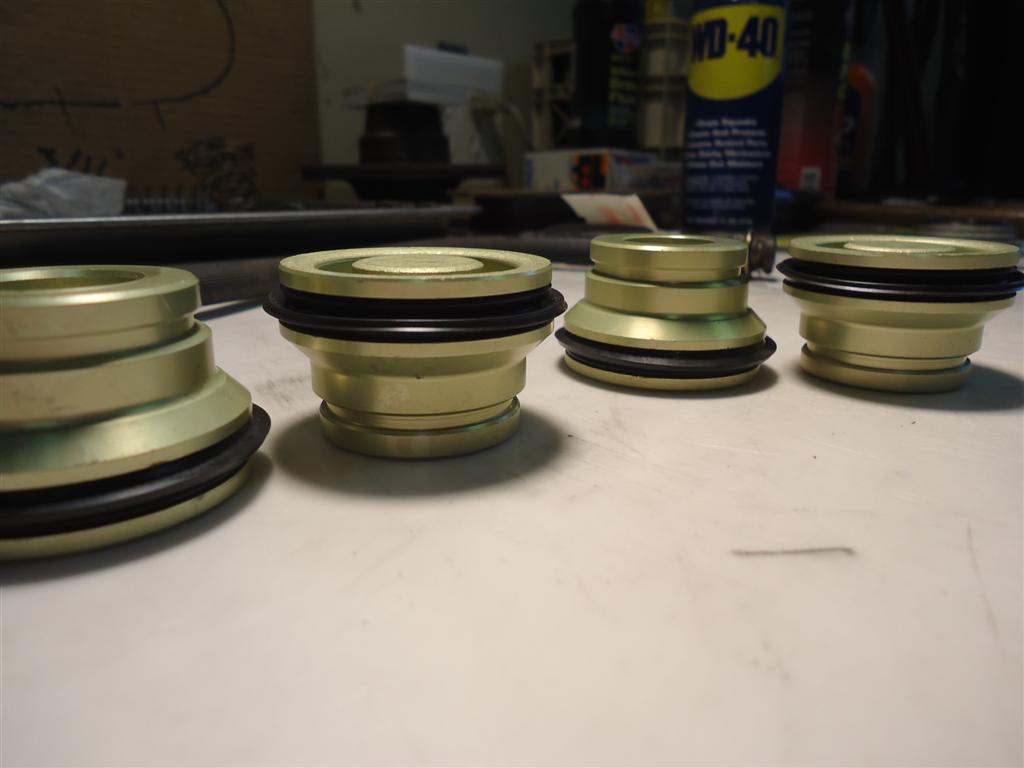
While slightly stretching the seal, install in the closest groove to the flat end of the piston.
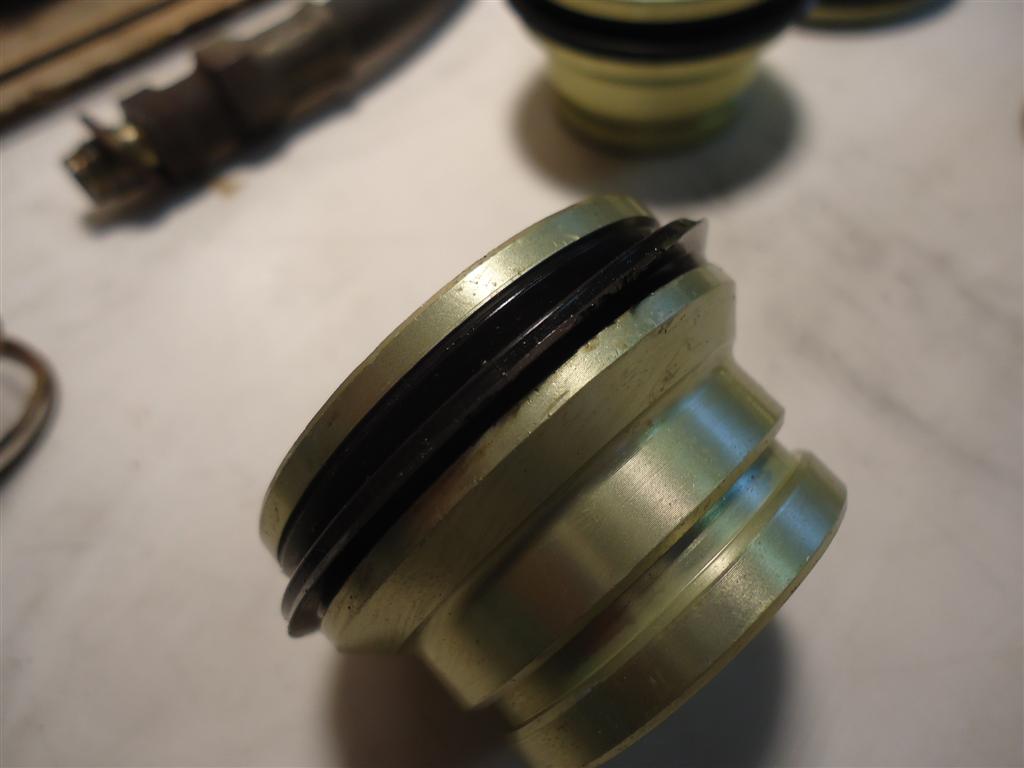
The lip on the seal faces the large end of the piston.
*************************
Caliper Piston Installation
The hardest part of the reassembly will be getting the pistons with the new seals back into their bores. The edges of the lip seals need to be pushed in, or compressed, like rings on a pistons. There are several ways to do this.
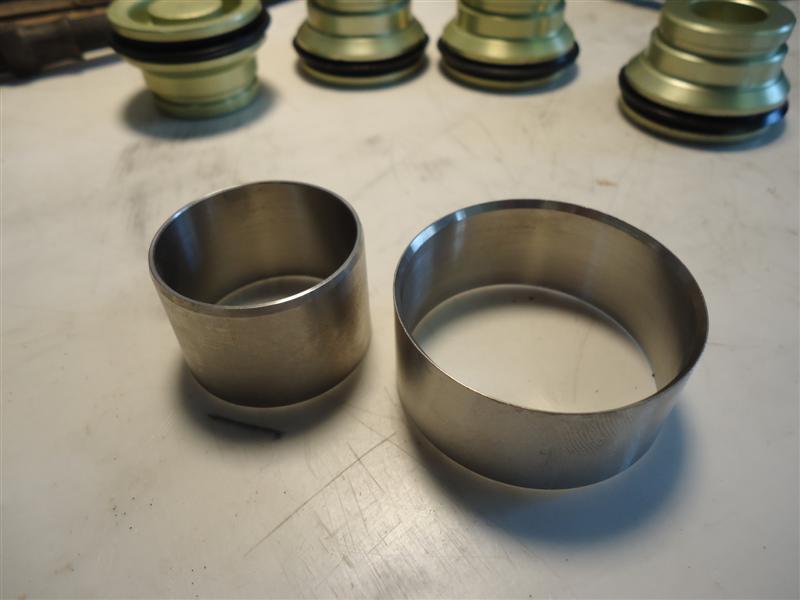
If you're using the factory-style lip-seals, the best way to install the pistons back into their bores is to use a two-piece piston installation tool, shown above.
With the new seal installed, push the piston through the inside of the tool and into the bore of the caliper.
Buy the installation tool and the hardest part of caliper assembly becomes easy. The pair sells for about $30.
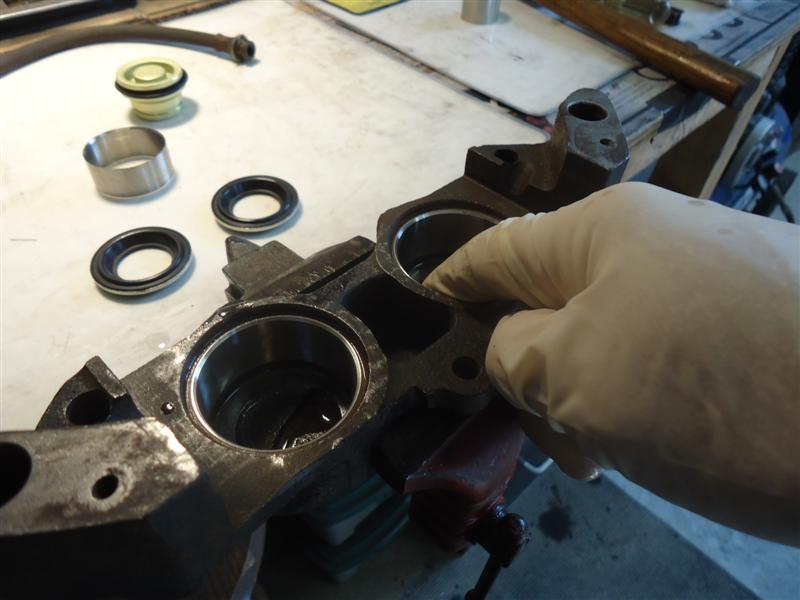
If you're using the O-ring style seals, getting the pistons back into their bores is easier. You can use a blunt flat-blade screwdriver (carefully) or a small plastic flexible card to push in.
Read: Lip Seal vs O-Ring Calipers
Care must be taken not to score the inside surface of the bore or scratch off any of the pistons anodizing, or tear or puncture the edge of the seal.
I poured a small amount of clean brake fluid into the bores and wiped brake fluid around the piston, seal, and bores with a finger before installing. Lubricate everything.
If you're using the lip-style seal, remember to place the spring in the bottom of the piston bore first. Using springs on the O-ring style is optional.
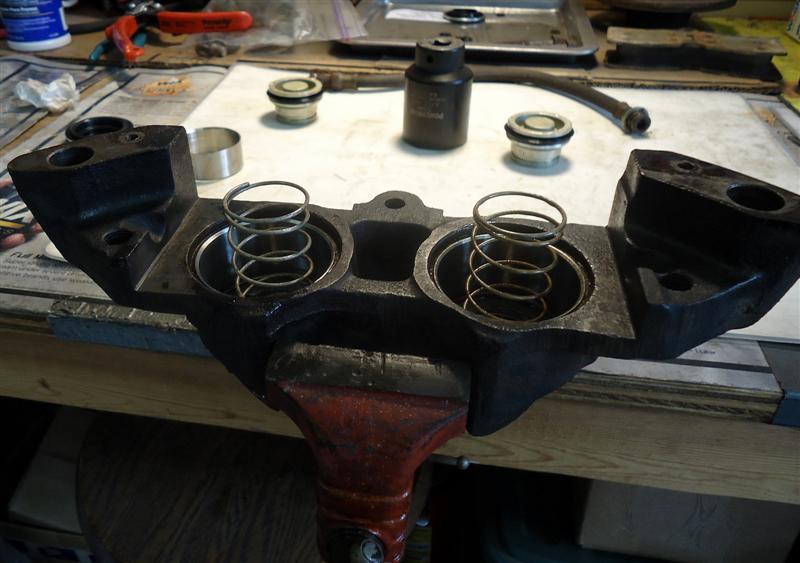
Once installed, hold the top of the piston with a finger or two, grab a metal-ringed piston seal, place it on top and gently tap it down. There is a specialty tool made for this, but a large socket and a hammer work fine. I used a 38mm socket.
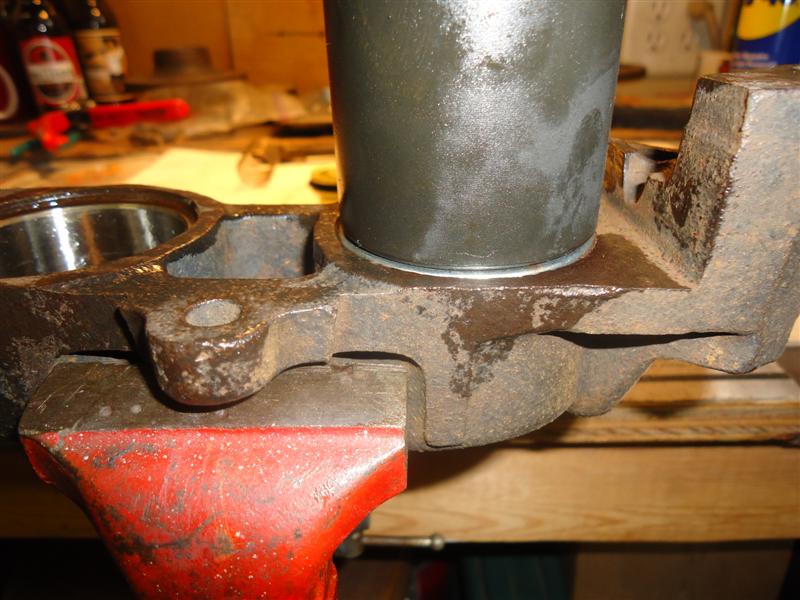
Gently tap the metal-ringed piston seal into the bore. The metal gasket should be evenly seated around the bore, with no portion of it higher than another. Double-check by running your finger around the circumference.
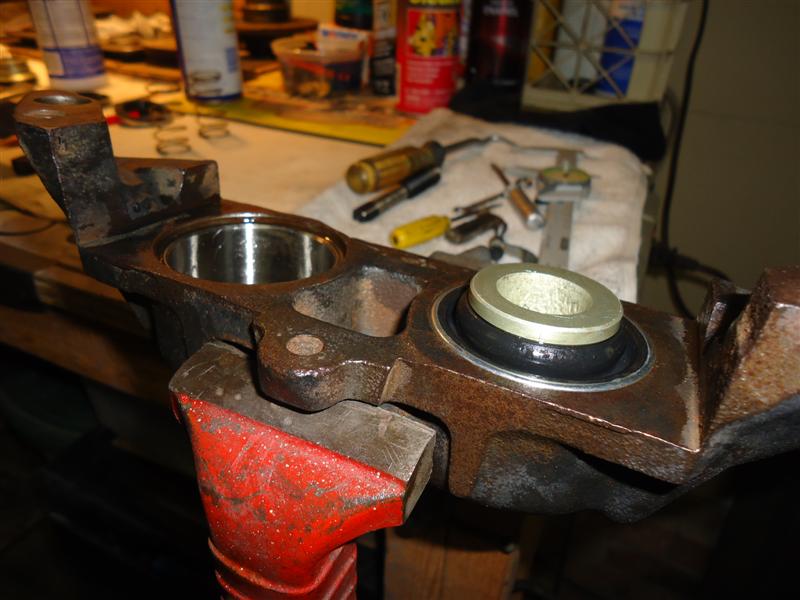
After installing the caliper half O-rings, place the inboard half onto the outboard half and install the two bridge bolts. Tighten them with a 13/16" socket.
Next, install the brake pads. Apply a little synthetic grease on the forward surfaces where the brake pads ride in. Install the cotter pin, which goes on the inboard side of the caliper.
Caliper mounting bolts get torqued to 70 lb-ft.
*************************
Reinstalling Calipers on Car
Carefully mount the assembled caliper over the edge of the brake rotor.
You can separate the pads with 1-5/16" thick wood block spacer, which will pop out when caliper is placed over disc. This approach eliminates possible damage. Or use a putty knife or speciality clips, which are also effective.
Reinstall bolts and tighten.
*************************
Brake Hoses
Inspect the old rubber brake hoses. If you're unsure of their age and condition, replace them. Use a new inlet copper washer when installing the new brake hose (some restorers use two washers). Torque brake hose to caliper at 22 lb/ft.
Once done, bleed the entire brake system. Although it takes longer, I usually prefer gravity-bleeding.
Road Test
*************************
Related Articles: