1970 Chevelle Bodywork and Paint
Article by Mark Trotta
I bought this Chevelle as a project car in 1991. It was my second major car restoration. I knew the car had issues before I bought it, but the price was right, and it was the only way I could afford the year and model car I wanted.
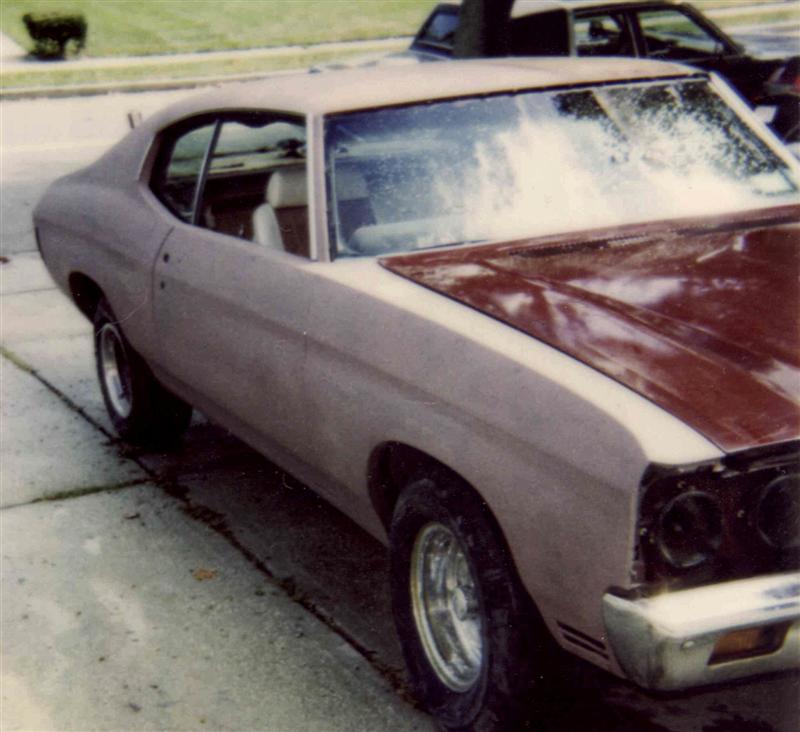
There were several coats of old paint on top of the original, so the bodywork on the Chevelle began with stripping the paint to bare metal. First, chemical stripper was applied, and then I used a scraper to get as much of the paint off as I could.
After the paint stripper was cleaned off I sanded the body with a dual action sander. A wire wheel on an electric drill helped me get into the smaller corners and curves.
____________________________________________
____________________________________________
Removing the Fender Flares
To cover oversize rear wheels and tires which stuck out from the car, the previous owner had cut the original quarter panels and made fender flares from wire-mesh and bondo. I began the Chevelle bodywork by removing the flares and installing replacement panels. GM A-body cars have great aftermarket coverage, with dozens of companies offering replacement body panels for 1964-1972 Chevelle's.
Install Quarter Panels
I didn't need to buy full quarter panels, which had two big advantages - full quarter panel skins, which extend from the upper belt line down, are cheaper than full quarters. Secondly, they can be shipped UPS (full quarter panels need to be shipped via truck, only to a business address, and you pay freight).
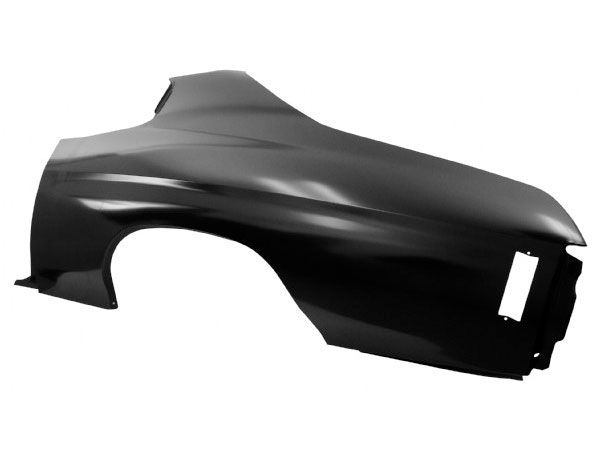
After the Chevelle quarter panels arrived, I held them up against the car and marked out what I needed to trim off (don't cut out the old panels before you get the new ones!) A combination of hand snips and an air grinder were used to cut out the old sheet metal around the flares.
Read: 10 Best Air Tools For Automotive Restoration
The left-side inner-wheelhouse had some rust spots in it, which were cut out and trimmed as square as possible. A cardboard template was made, transferred to a piece of sheet metal, and then trimmed out. The patch was Mig-welded in.
____________________________________________
____________________________________________
Although not available at the time, several companies now offer inner-wheelhouse panel patches. Although the replacement panels are full-sized, only cut out the metal that's damaged.
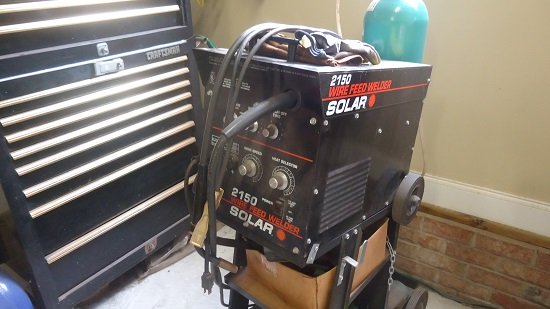
Read: MIG Welding Sheet Metal
This 1970 Chevelle Malibu came from the factory with a vinyl top, which often promotes moisture and rust. There was a spot of rust underneath the rear window, behind the vinyl. The material peeled off rather easily, and I decided to remove the vinyl roof altogether.
Chevelle Malibu's that were vinyl top-equipped had stainless moldings separating the vinyl top from the body, as well as horizontal moldings down the sides of the car. These were removed and the holes were plugged with metal.
Initial priming was done panel by panel. After all the bodywork was completed, I allowed the final primer coat to dry for over a week.
After the bodywork was done, painting the car was the last major step in this restoration.
***********************
DIY Car Painting
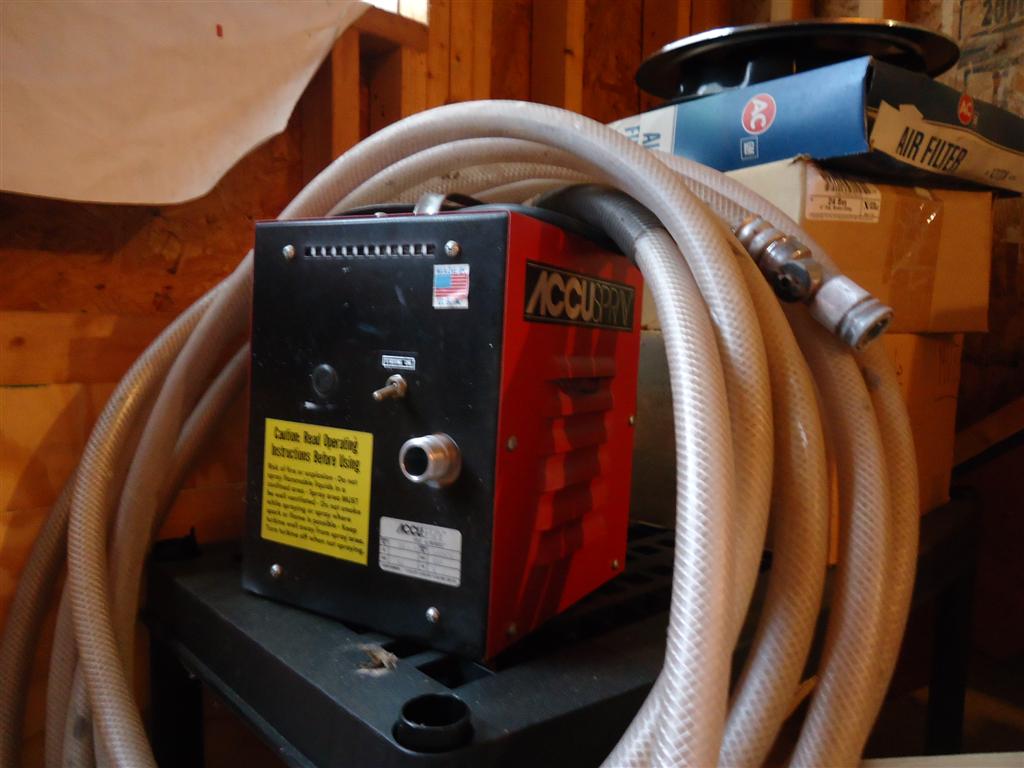
After checking and re-checking the bodywork several times, I sprayed the Chevelle the original color using Dupont Centurian two-stage enamel. This was the first car I painted with a turbine paint system.
Working part-time in my garage, it took me about a month to completely paint the car. I waited another week before starting to wet-sand the clear coat. I took this step easily and slowly, using 1000-grit paper (600-grit paper was used on several spots were I laid the clear coat on too heavy.)
Final results were achieved using an electric polisher, buffing pad, and rubbing compound. The electric polisher saves a lot of time, but can also burn through paint if you're not careful. After the paint was buffed out, hand glazing followed.
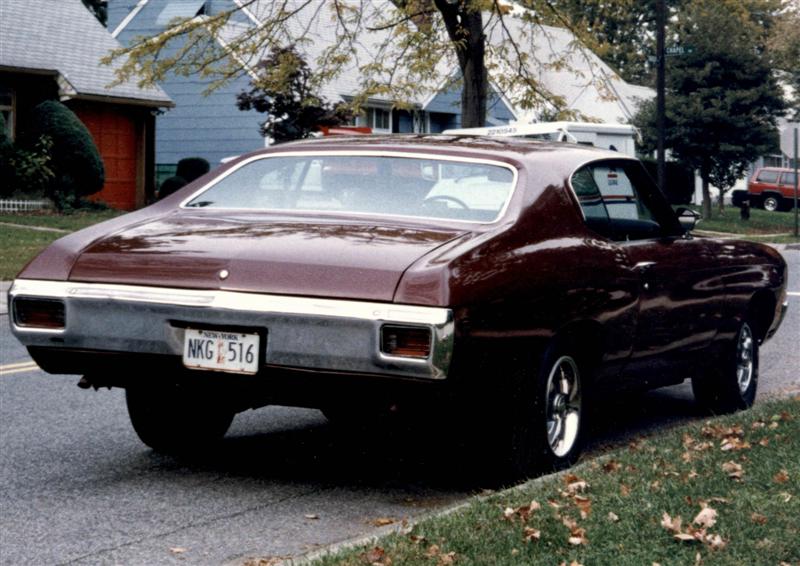
After the bodywork and paint was finished, the oversize Cragar S/S wheels in the rear were replaced by 15x8 Chevy Rally wheels. A pair of Protrac L60 tires fit neatly under the stock quarter panels.
***********************
Related Articles: